Building Construction
I always wanted to have my own observatory. In 2012 we were able to make that dream happen. The project started out as an Observatory with a roll-off roof. This is why you see two concrete piers outside of the building. These were to be supports that held the beams which held the roof. Time and opportunities changed the design from a roll-off roof to a dome design. This essentially made the roof support piers moot but, as you will see from the pictures, they ended up performing a vital function in supporting a much needed lightening rod for the observatory. We get a LOT of lightening in Overgaard. So much so, that I ended up putting them on my house, garage and observatory. I won’t dwell on it but they literally saved the life of my son Matt, as he was in our garage when a huge strike hit our garage. It completely wiped out an adjacent airplane hanger and horse barn. My garage was pretty much undamaged. Had I not had lightening rods, the propane heater in my garage would have probably exploded, with my son right underneath. The change to a dome allowed for an observatory that can withstand far higher winds and still operate as well as ensuring that opening/closing the roof will never result in damage to the telescope. This cannot be said for a roll-off roof design.
You can see from the procession of the construction pictures that we increased the size of the pier foundation. The change from roll-off roof also modified the possible long term size and scope of equipment we might put in the observatory. The new design was able to accommodate up to a 20” aperture telescope with all of the necessary mount, counter weights and imaging equipment up to a 500lb capacity. Quite a feat give that they would all be 10’ up from the ground. The next gallery shows you a detailed explanation of the pier design and pictures of the construction of the pier.
The observatory currently has a Meade 10”, F 6.3, LX200 SCT OTA. It is my hope to replace this with a Planewave CDK reflector in the 14”-20” range. The mount I currently am using is a Astro Physics AP1600. This is probably one of the best mounts that can obtained today in this class of instruments.
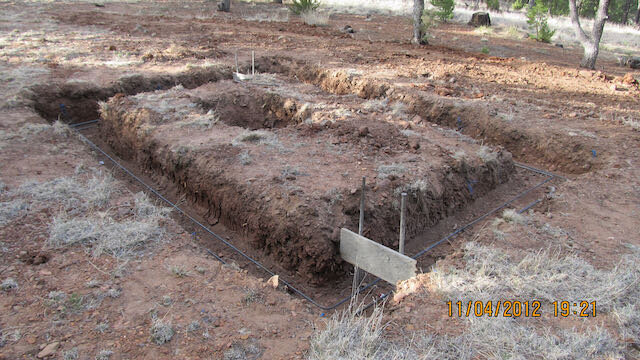
Stemwall Ditch
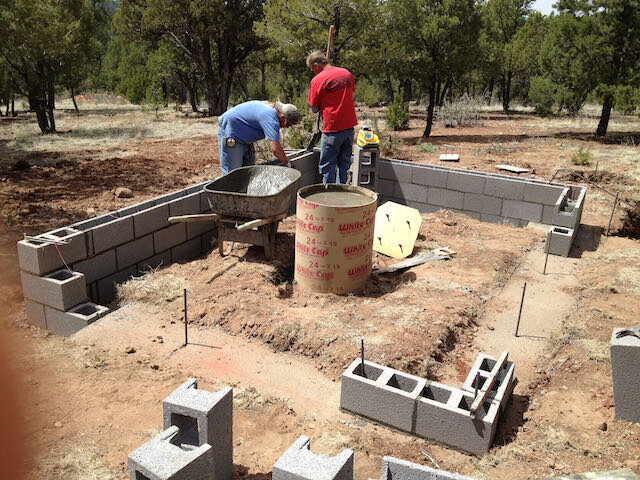
Footer and stemwall construction
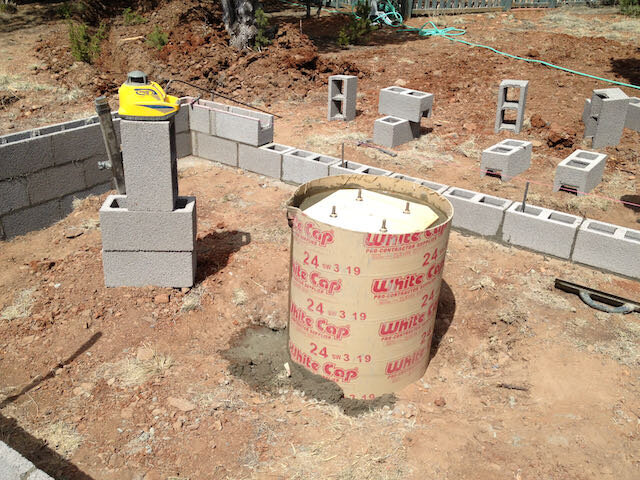
Main pier poured
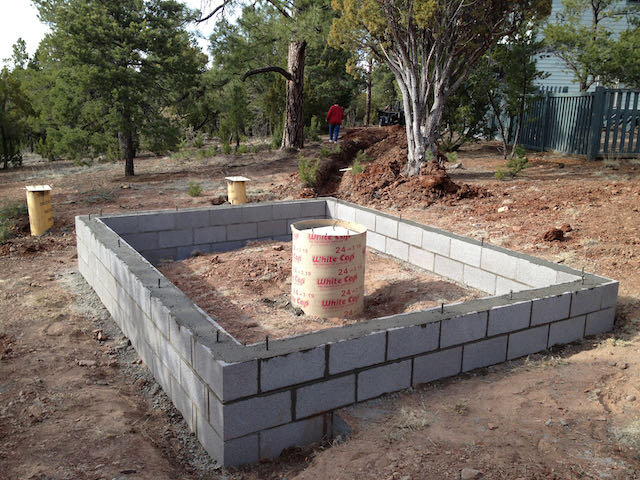
North view of foundation
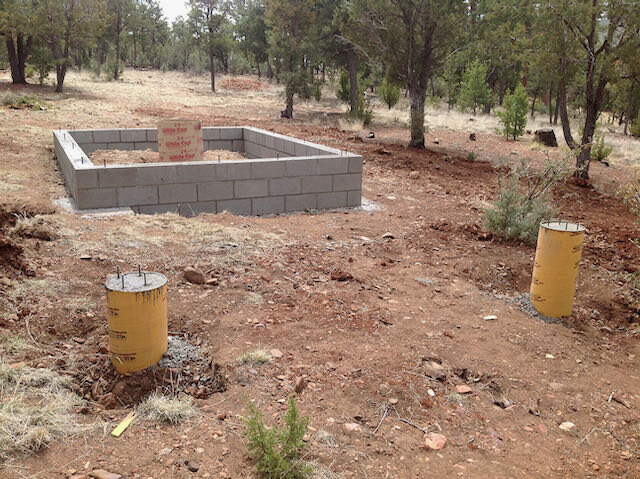
South view of foundation
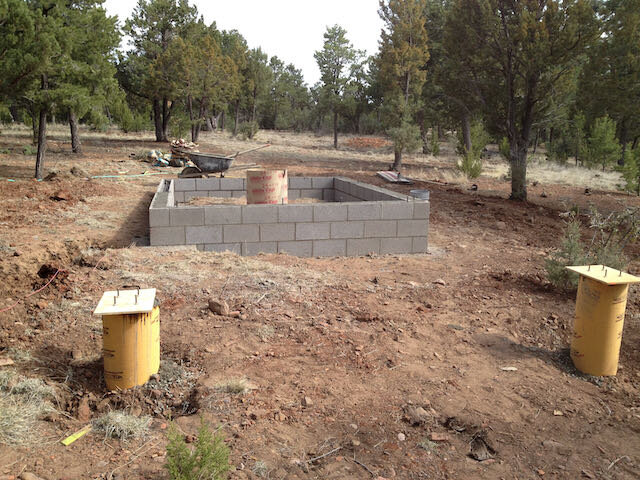
South view of foundation
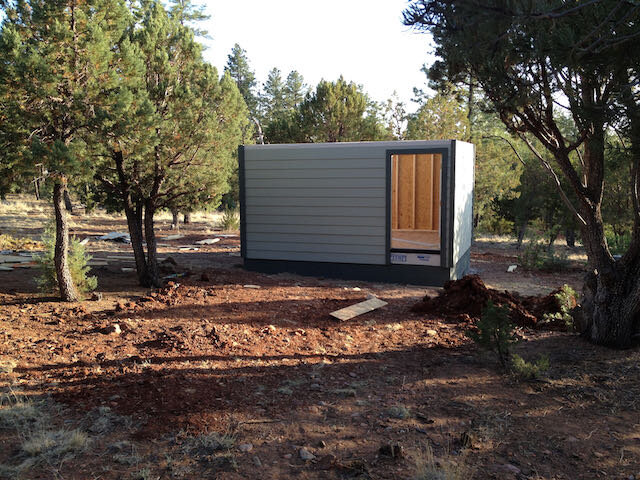
Initial building done
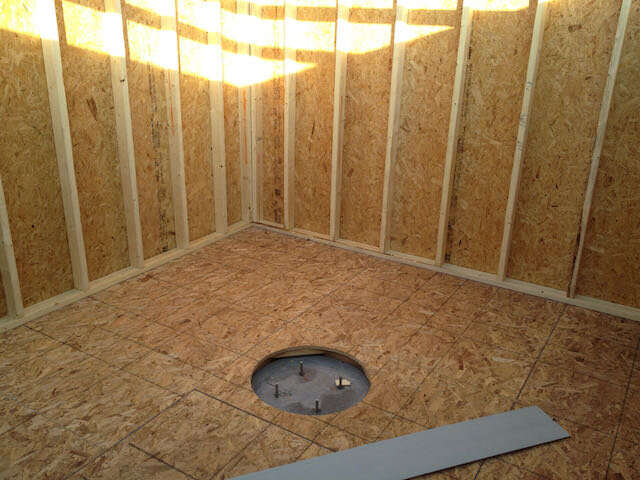
Original flooring with pier foundation
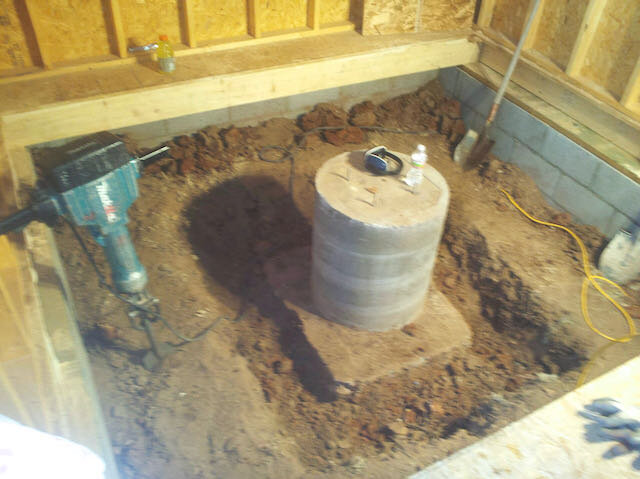
Floor removed for pier foundation expansion
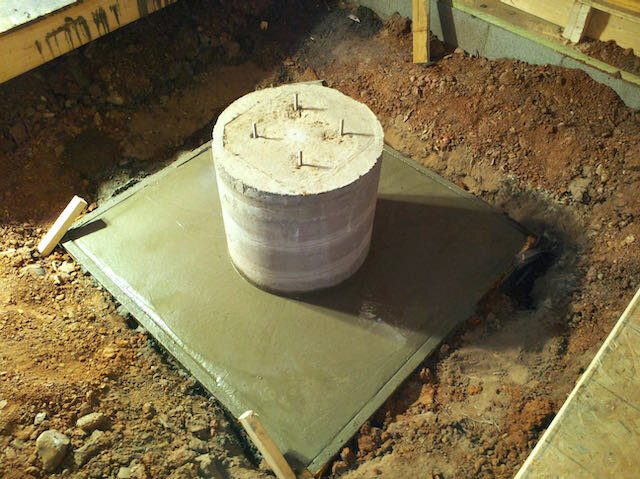
Pier expansion complete
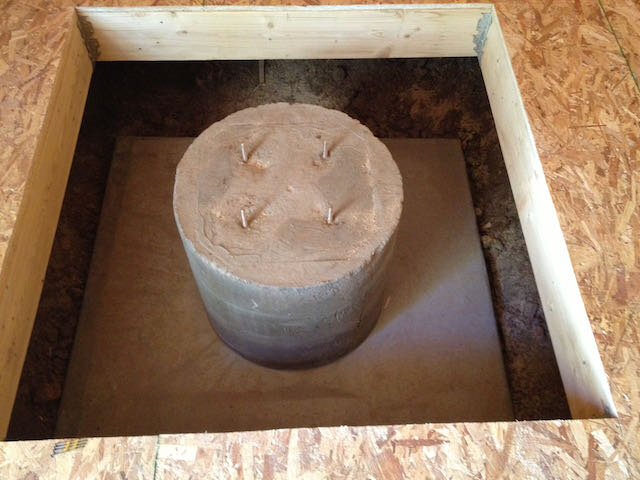
New floor with expanded pier foundation
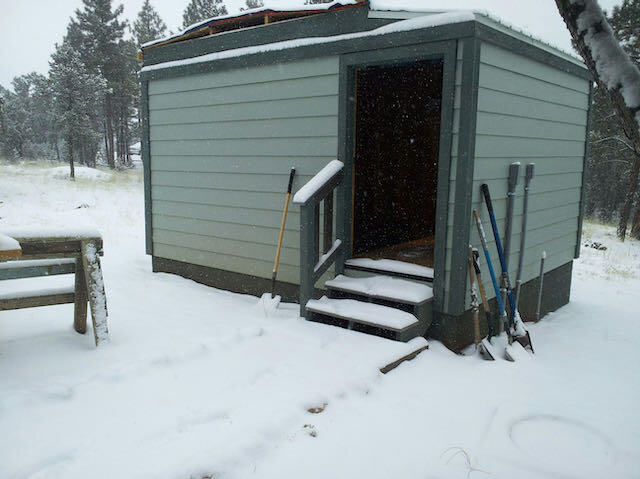
Construction through the winter
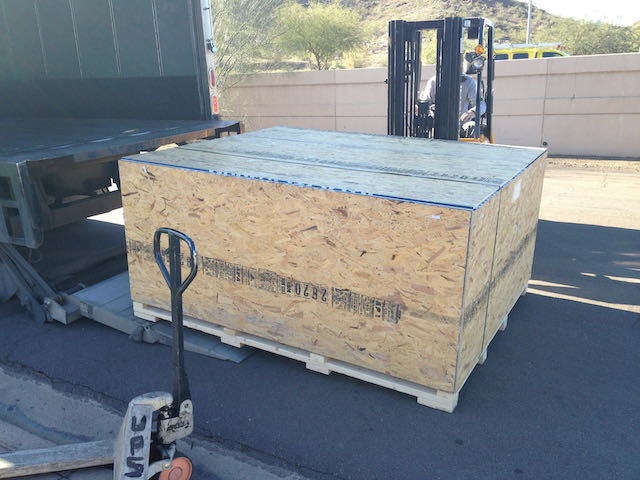
Dome arrival at Innofab
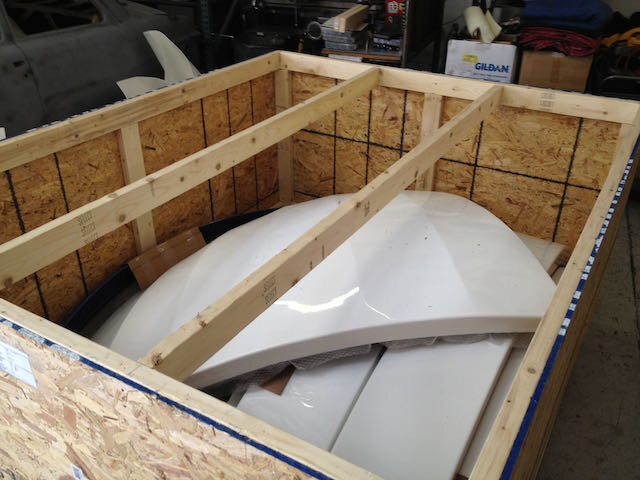
Dome in a box
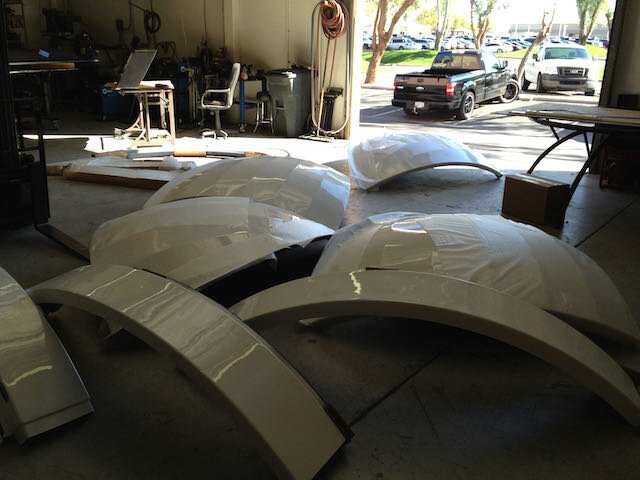
Dome out of a box
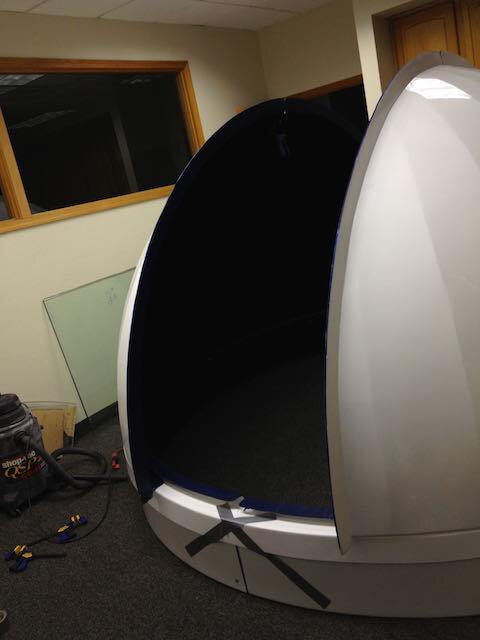
Trial dome assembly for fit
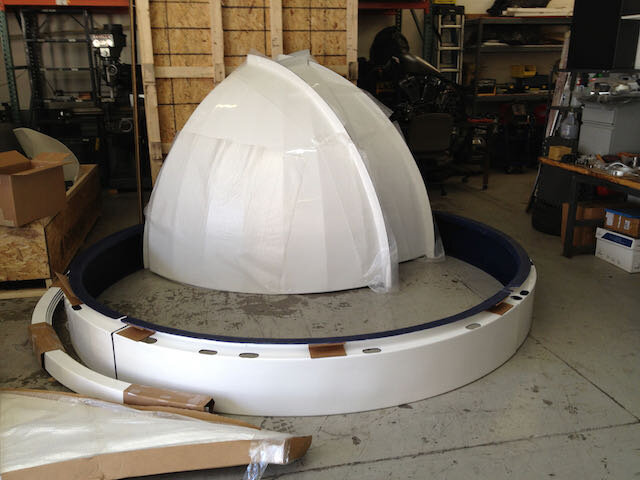
Dome support ring trial assembly
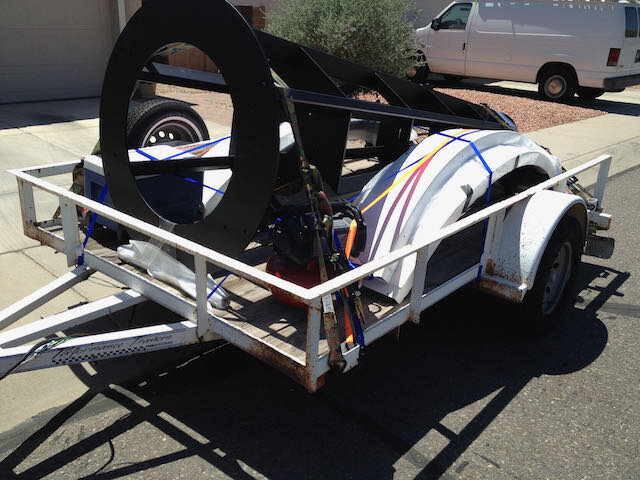
Dome and pier packed up on trailer to Overgaard
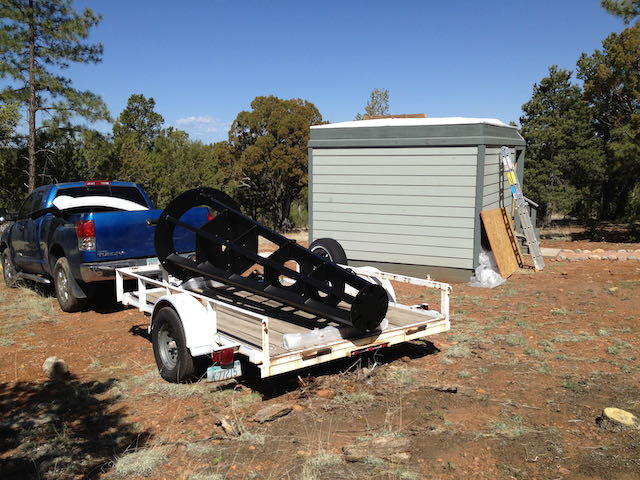
Arrival in Overgaard
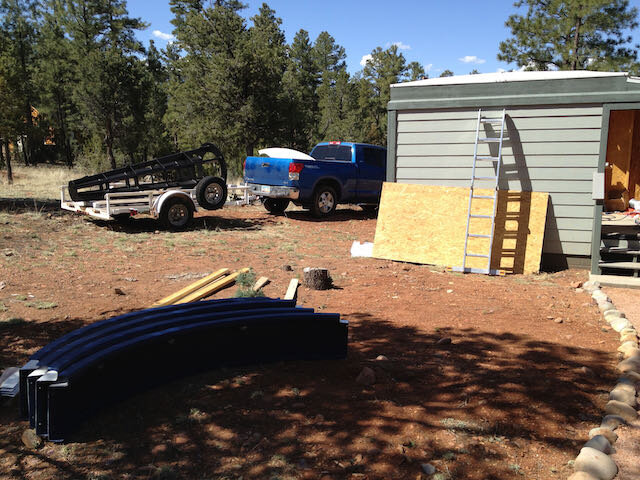
Preparing for crane lift of pier
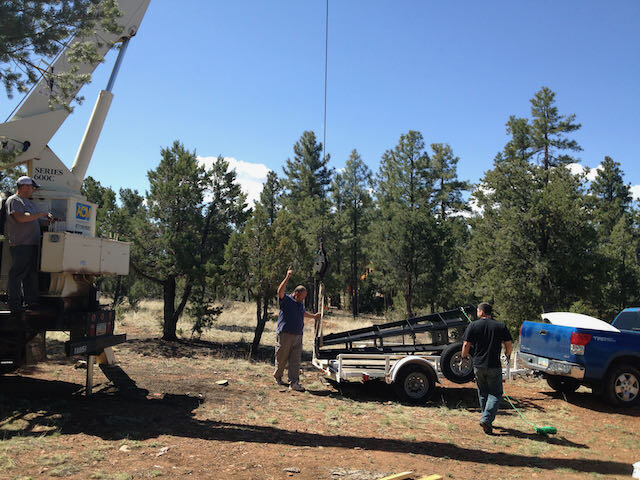
Attaching crane to pier
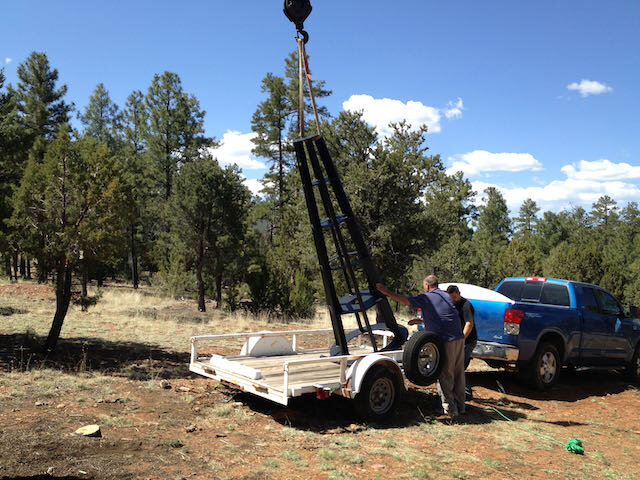
Lifting the pier up
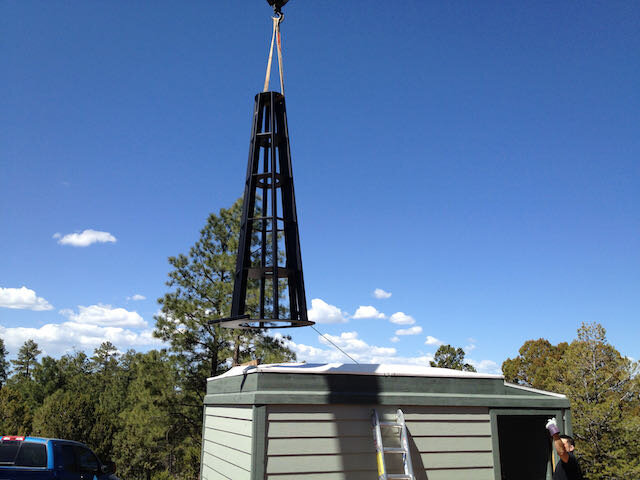
Lifting the pier over and into building
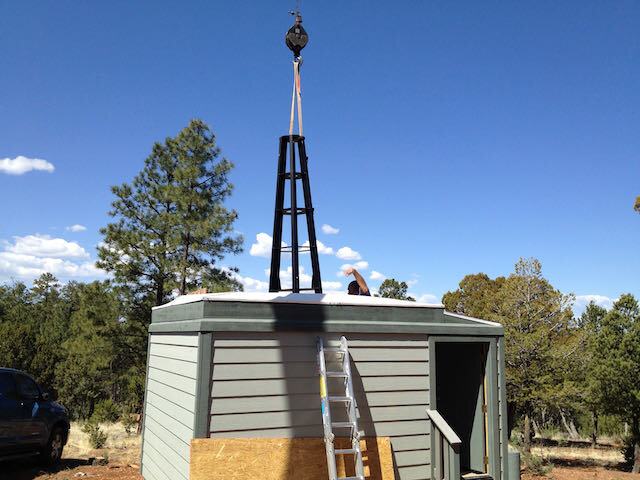
Lowering pier into observatory
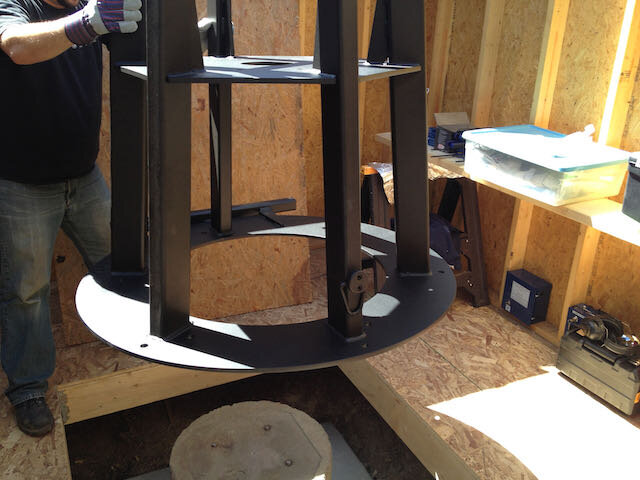
Lowering pier for final placement
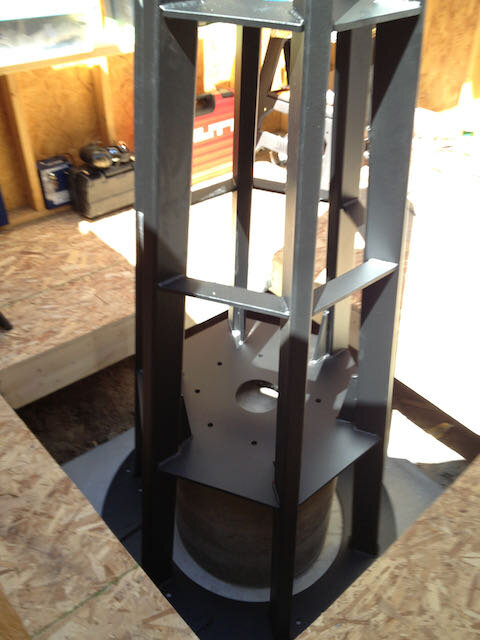
Pier down and ready to bolt in place
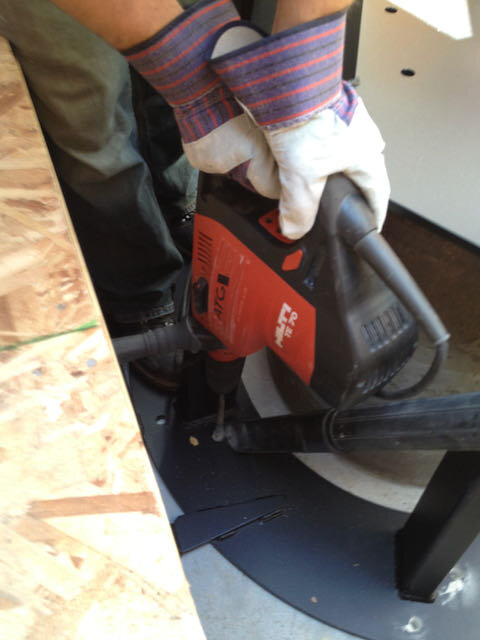
Hilti concrete drills are a beautiful thing
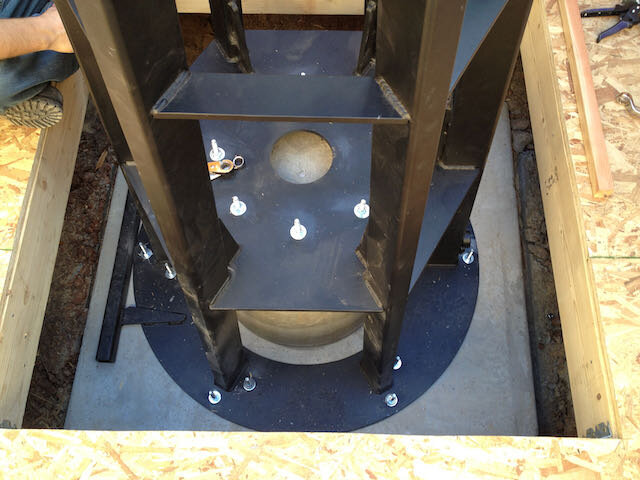
Pier bolted in place
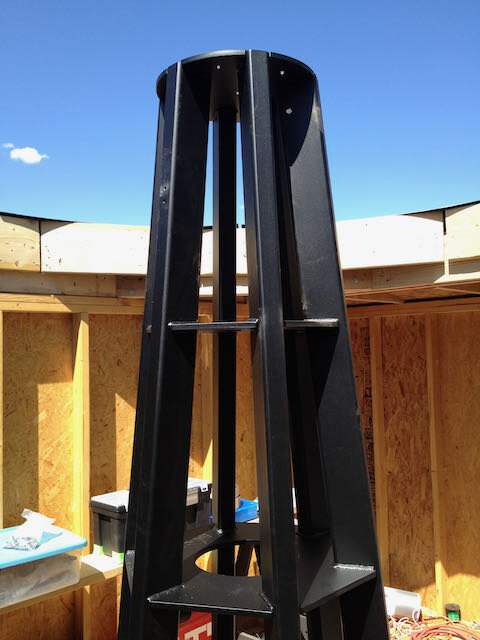
Ready for the top
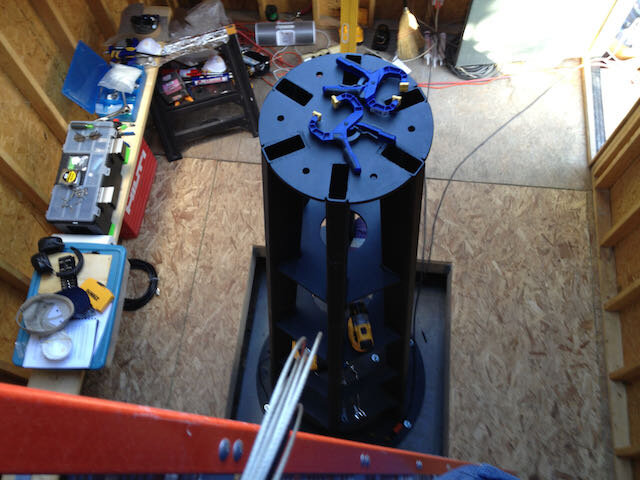
Top view looking down on pier
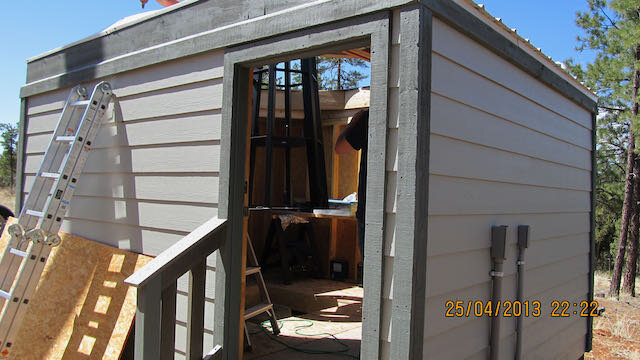
Preparing to assemble the dome on building
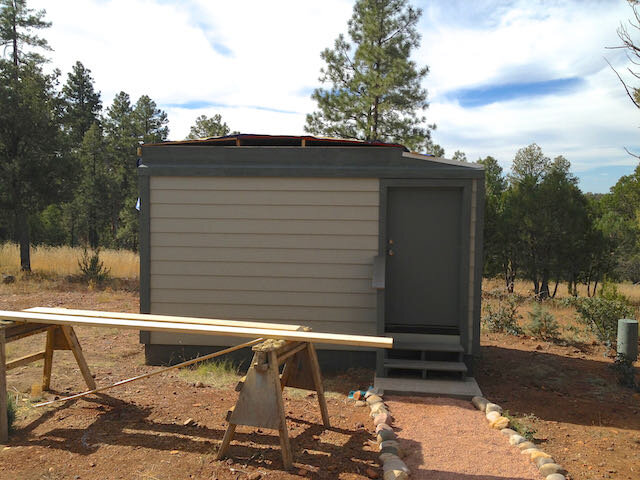
Finishing touches before dome
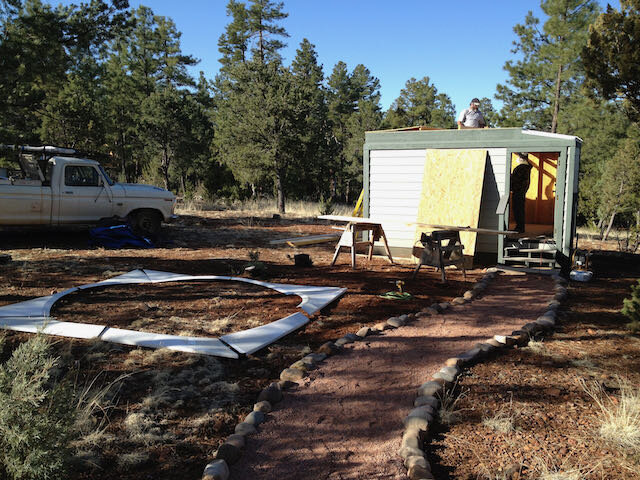
Dome flashing layout
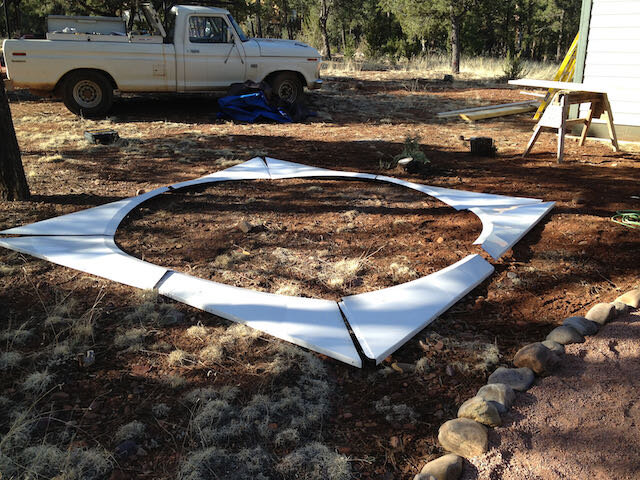
Dome flashing detail
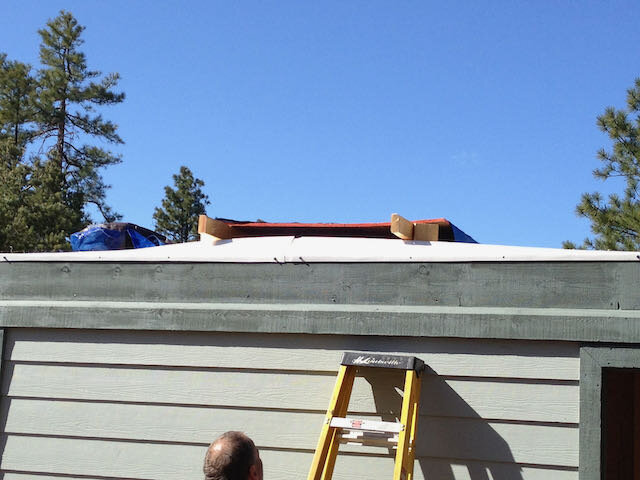
Flashing in place
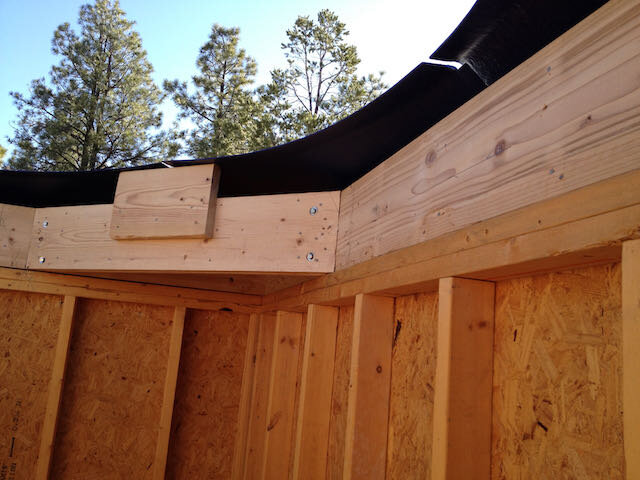
Inside view of flashing
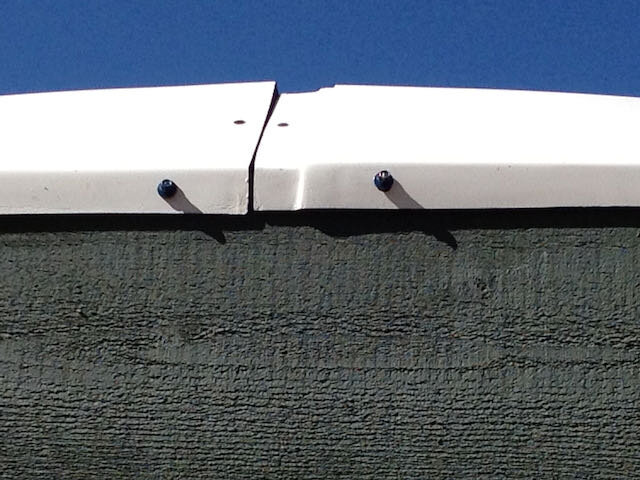
Obvious mismatch of dome flashing
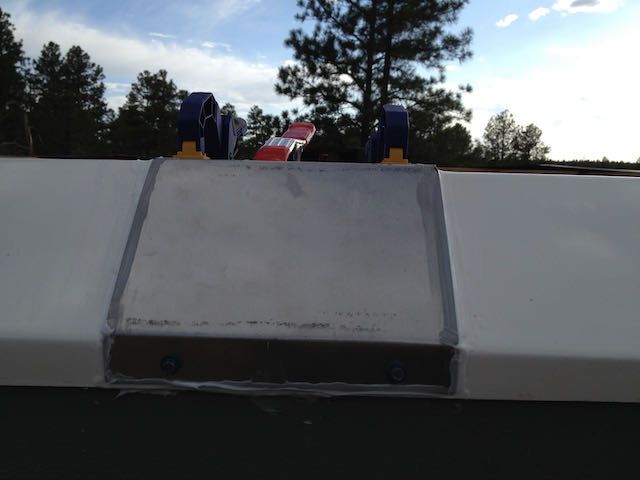
Stainless steel patch to fix flashing mismatch
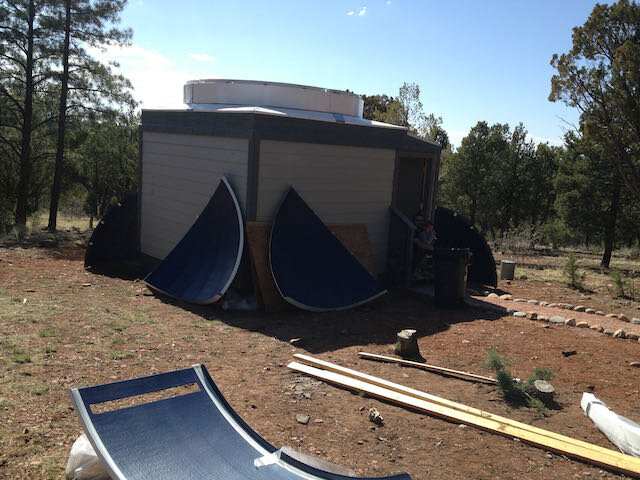
Dome support ring in place
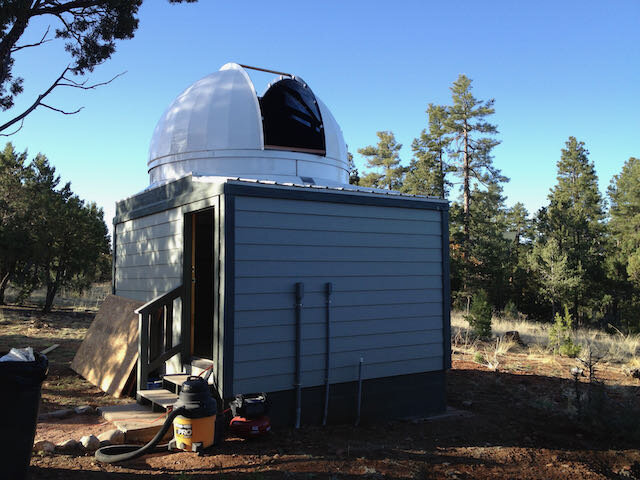
Main dome in place waiting for shutter
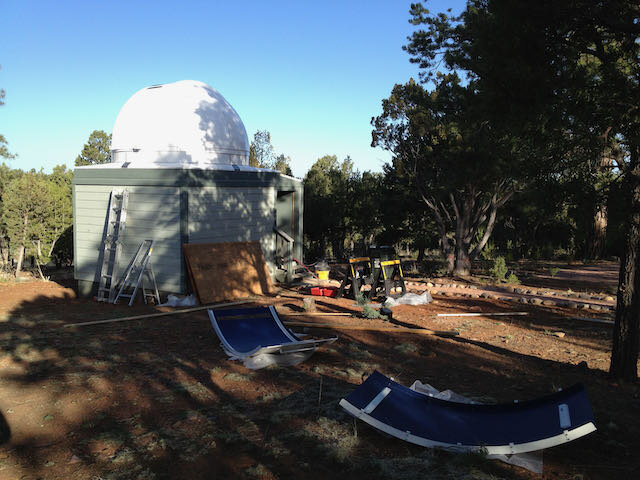
Dome shutter to be assembled
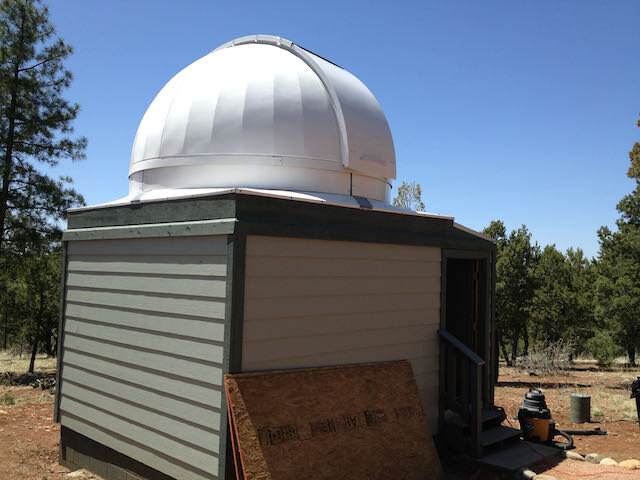
Dome shutter in place
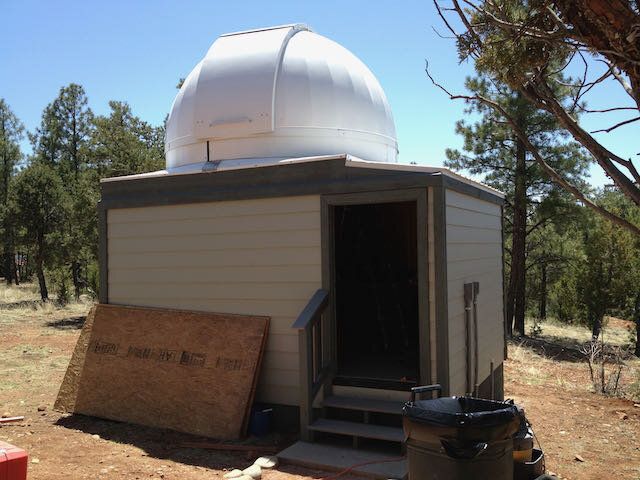
Completed observatory building west view
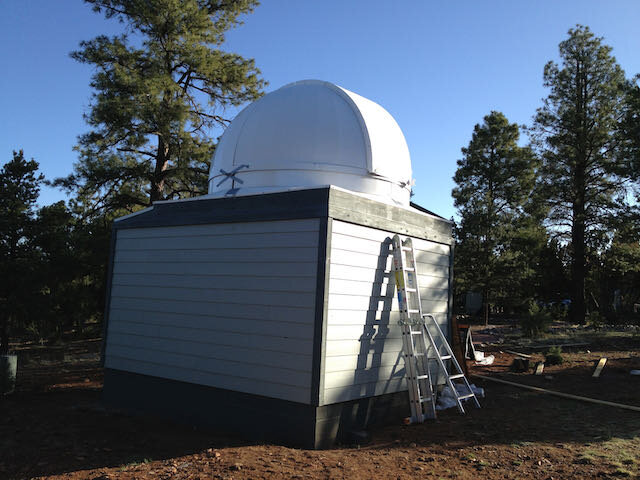
Completed observatory NE view
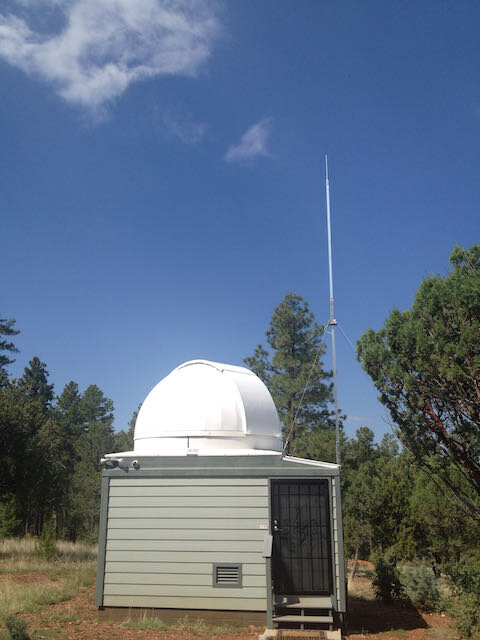
Final observatory with lightening antenna
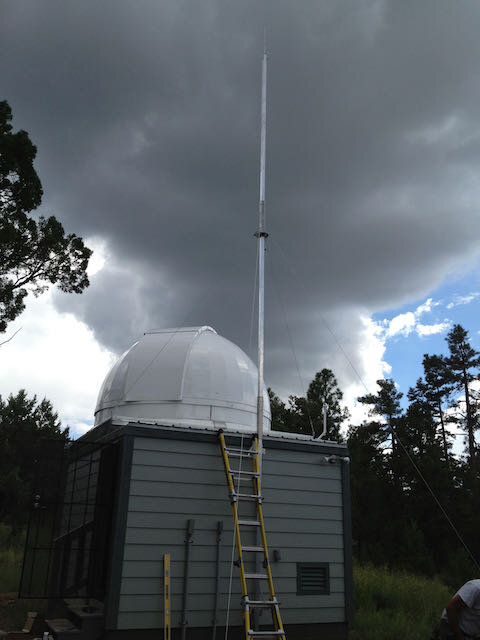
Another view of complete observatory
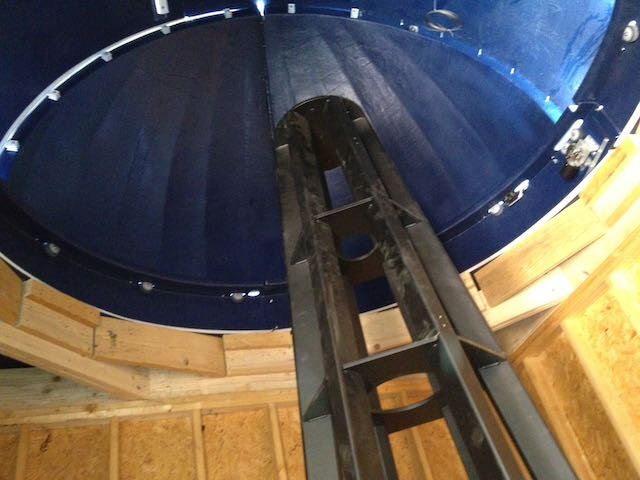
View from inside looking up at the dome
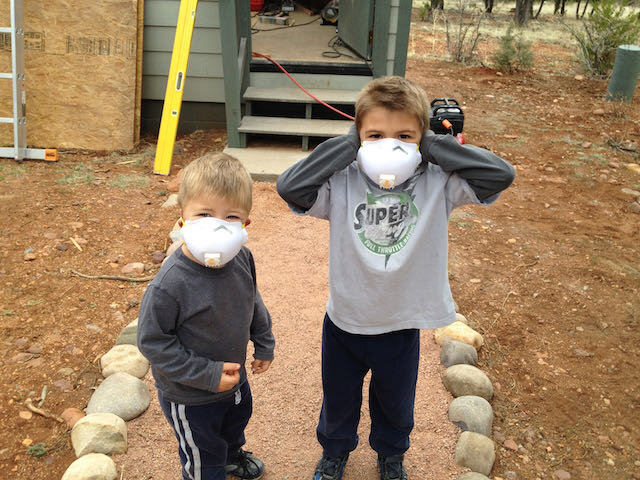
Project foreman
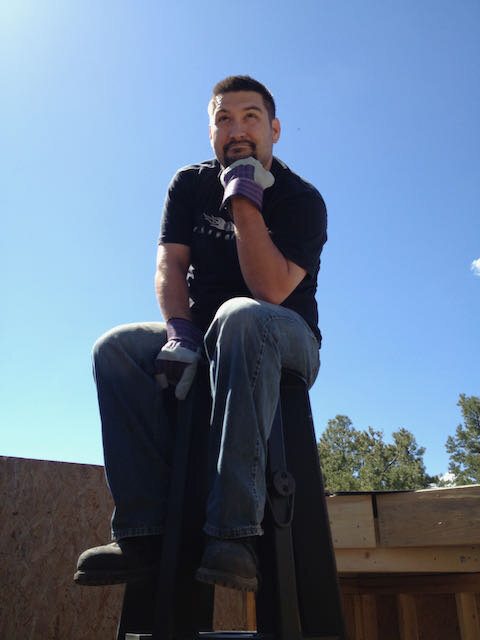
The master welder surveying his domain
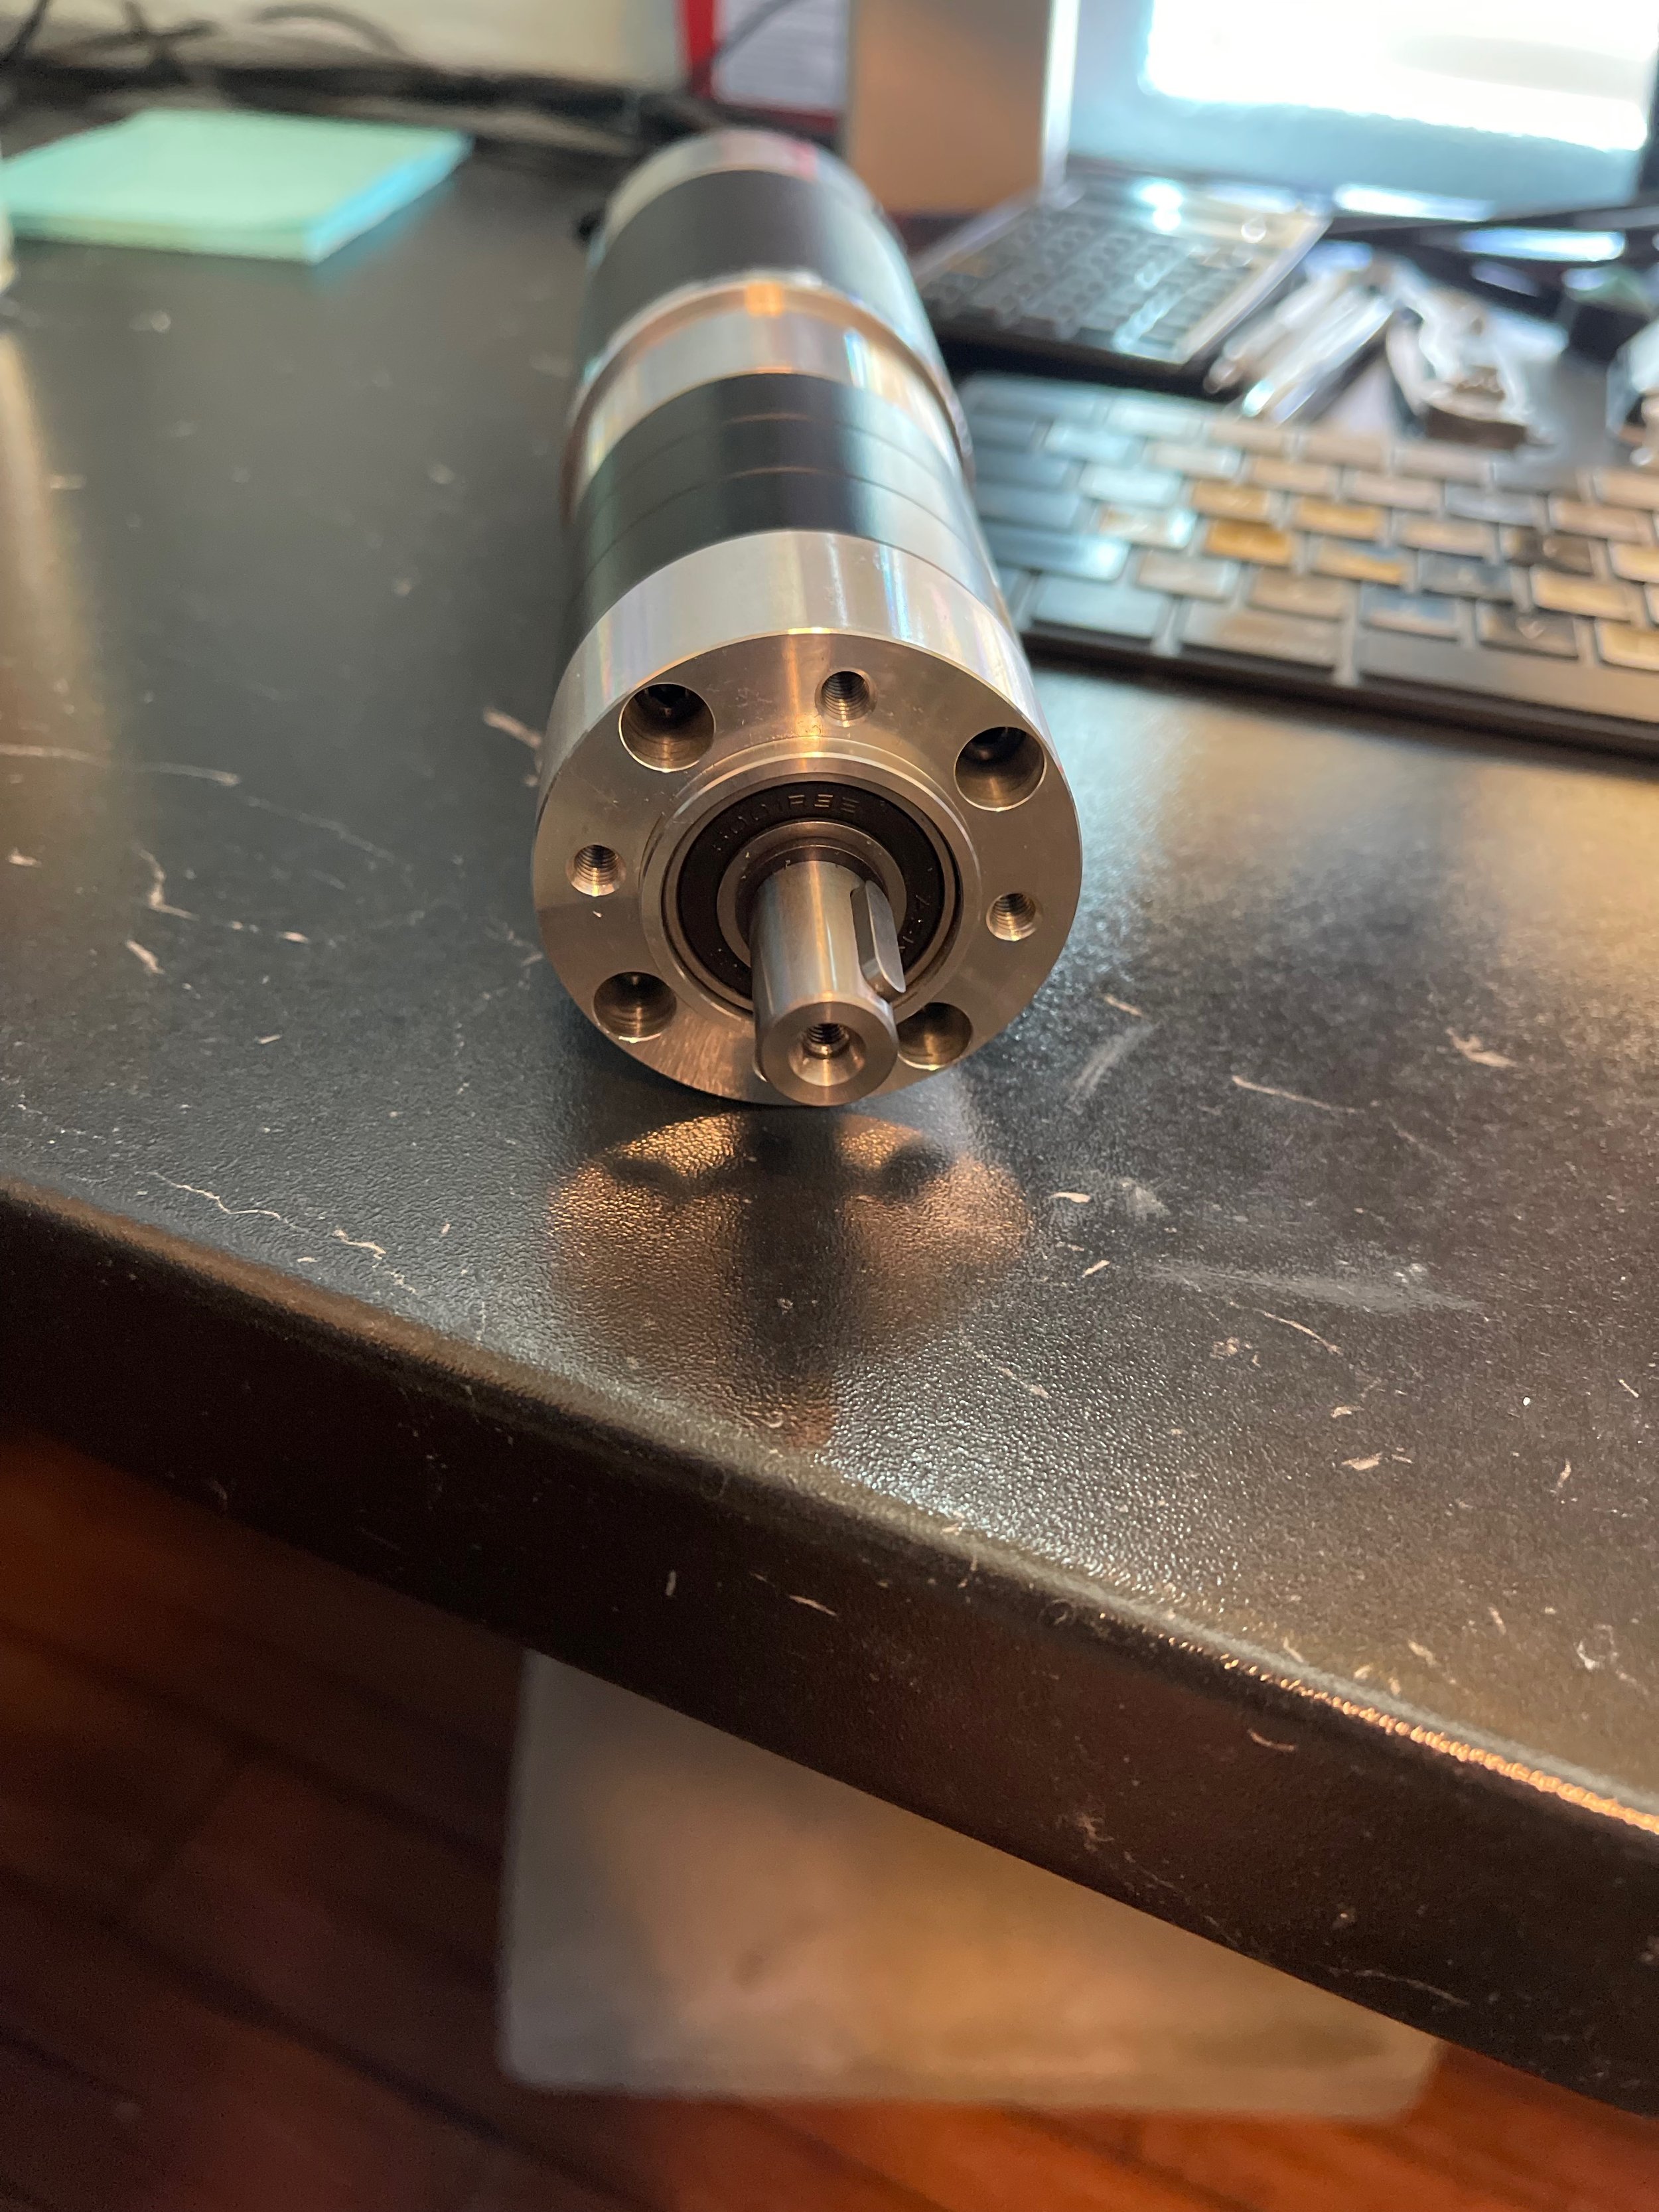
Midwest Motion Products DC Motor for Dome
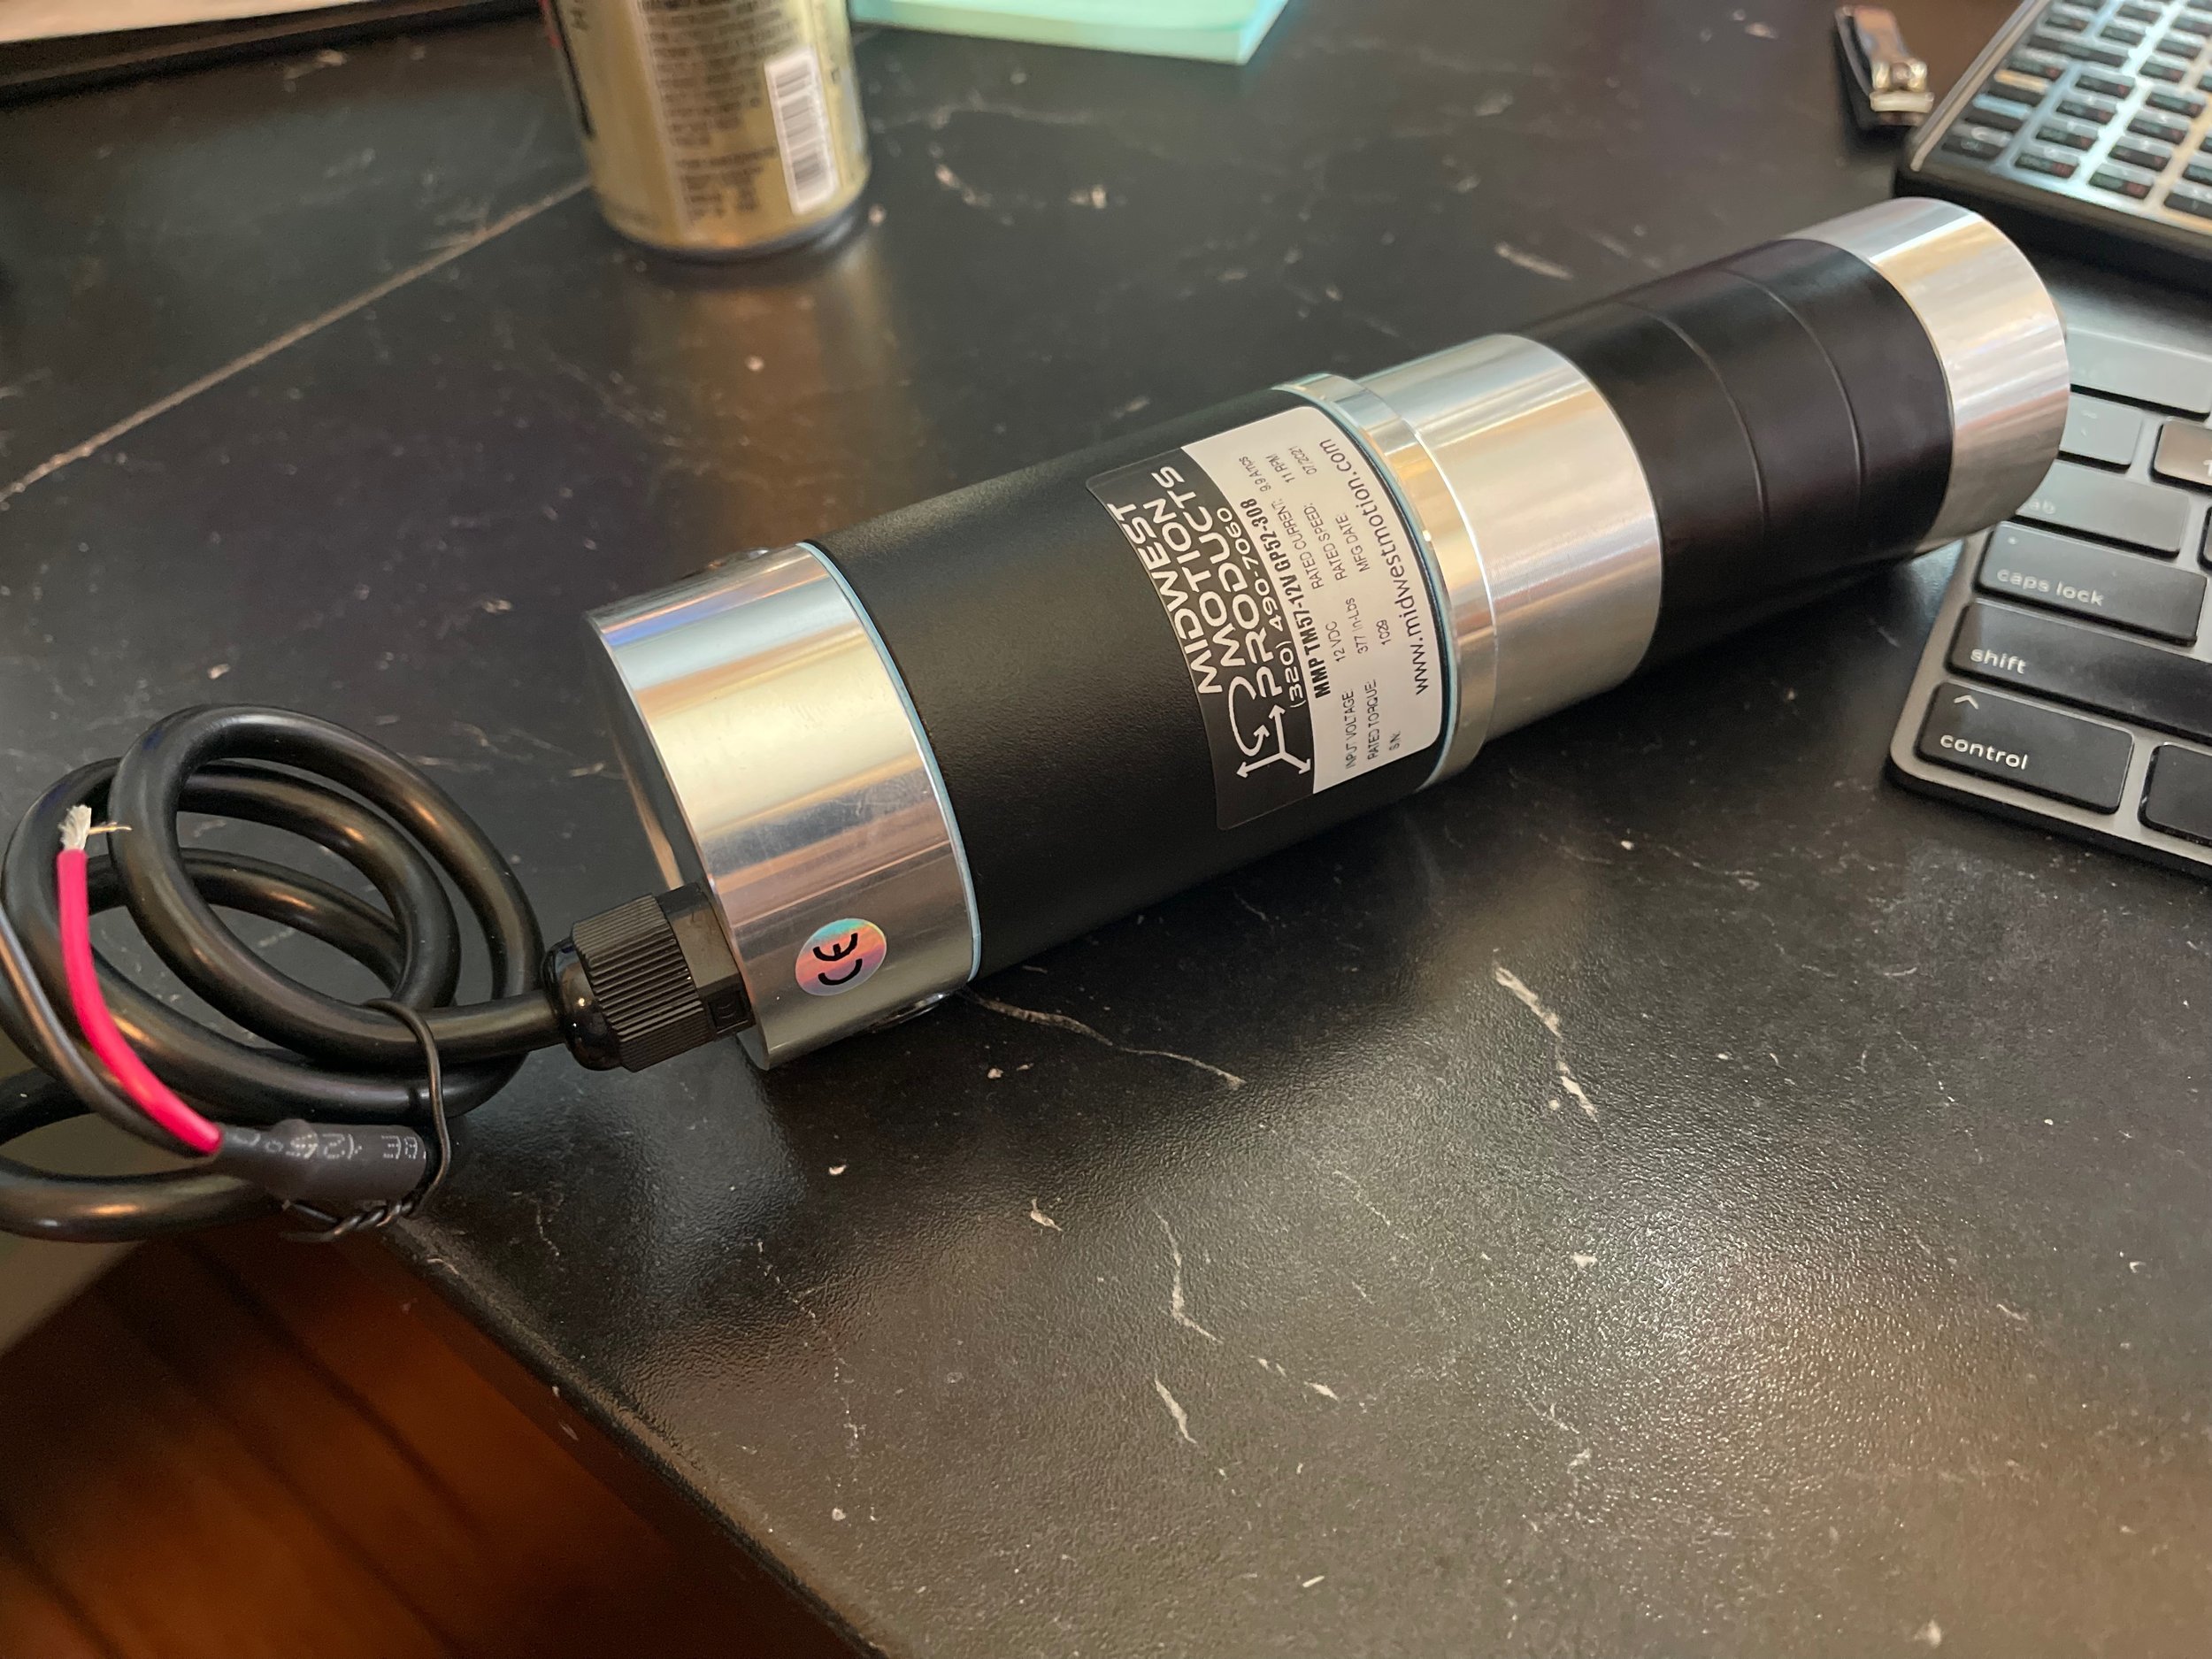
Midwest Motion Products DC Motor for Dome
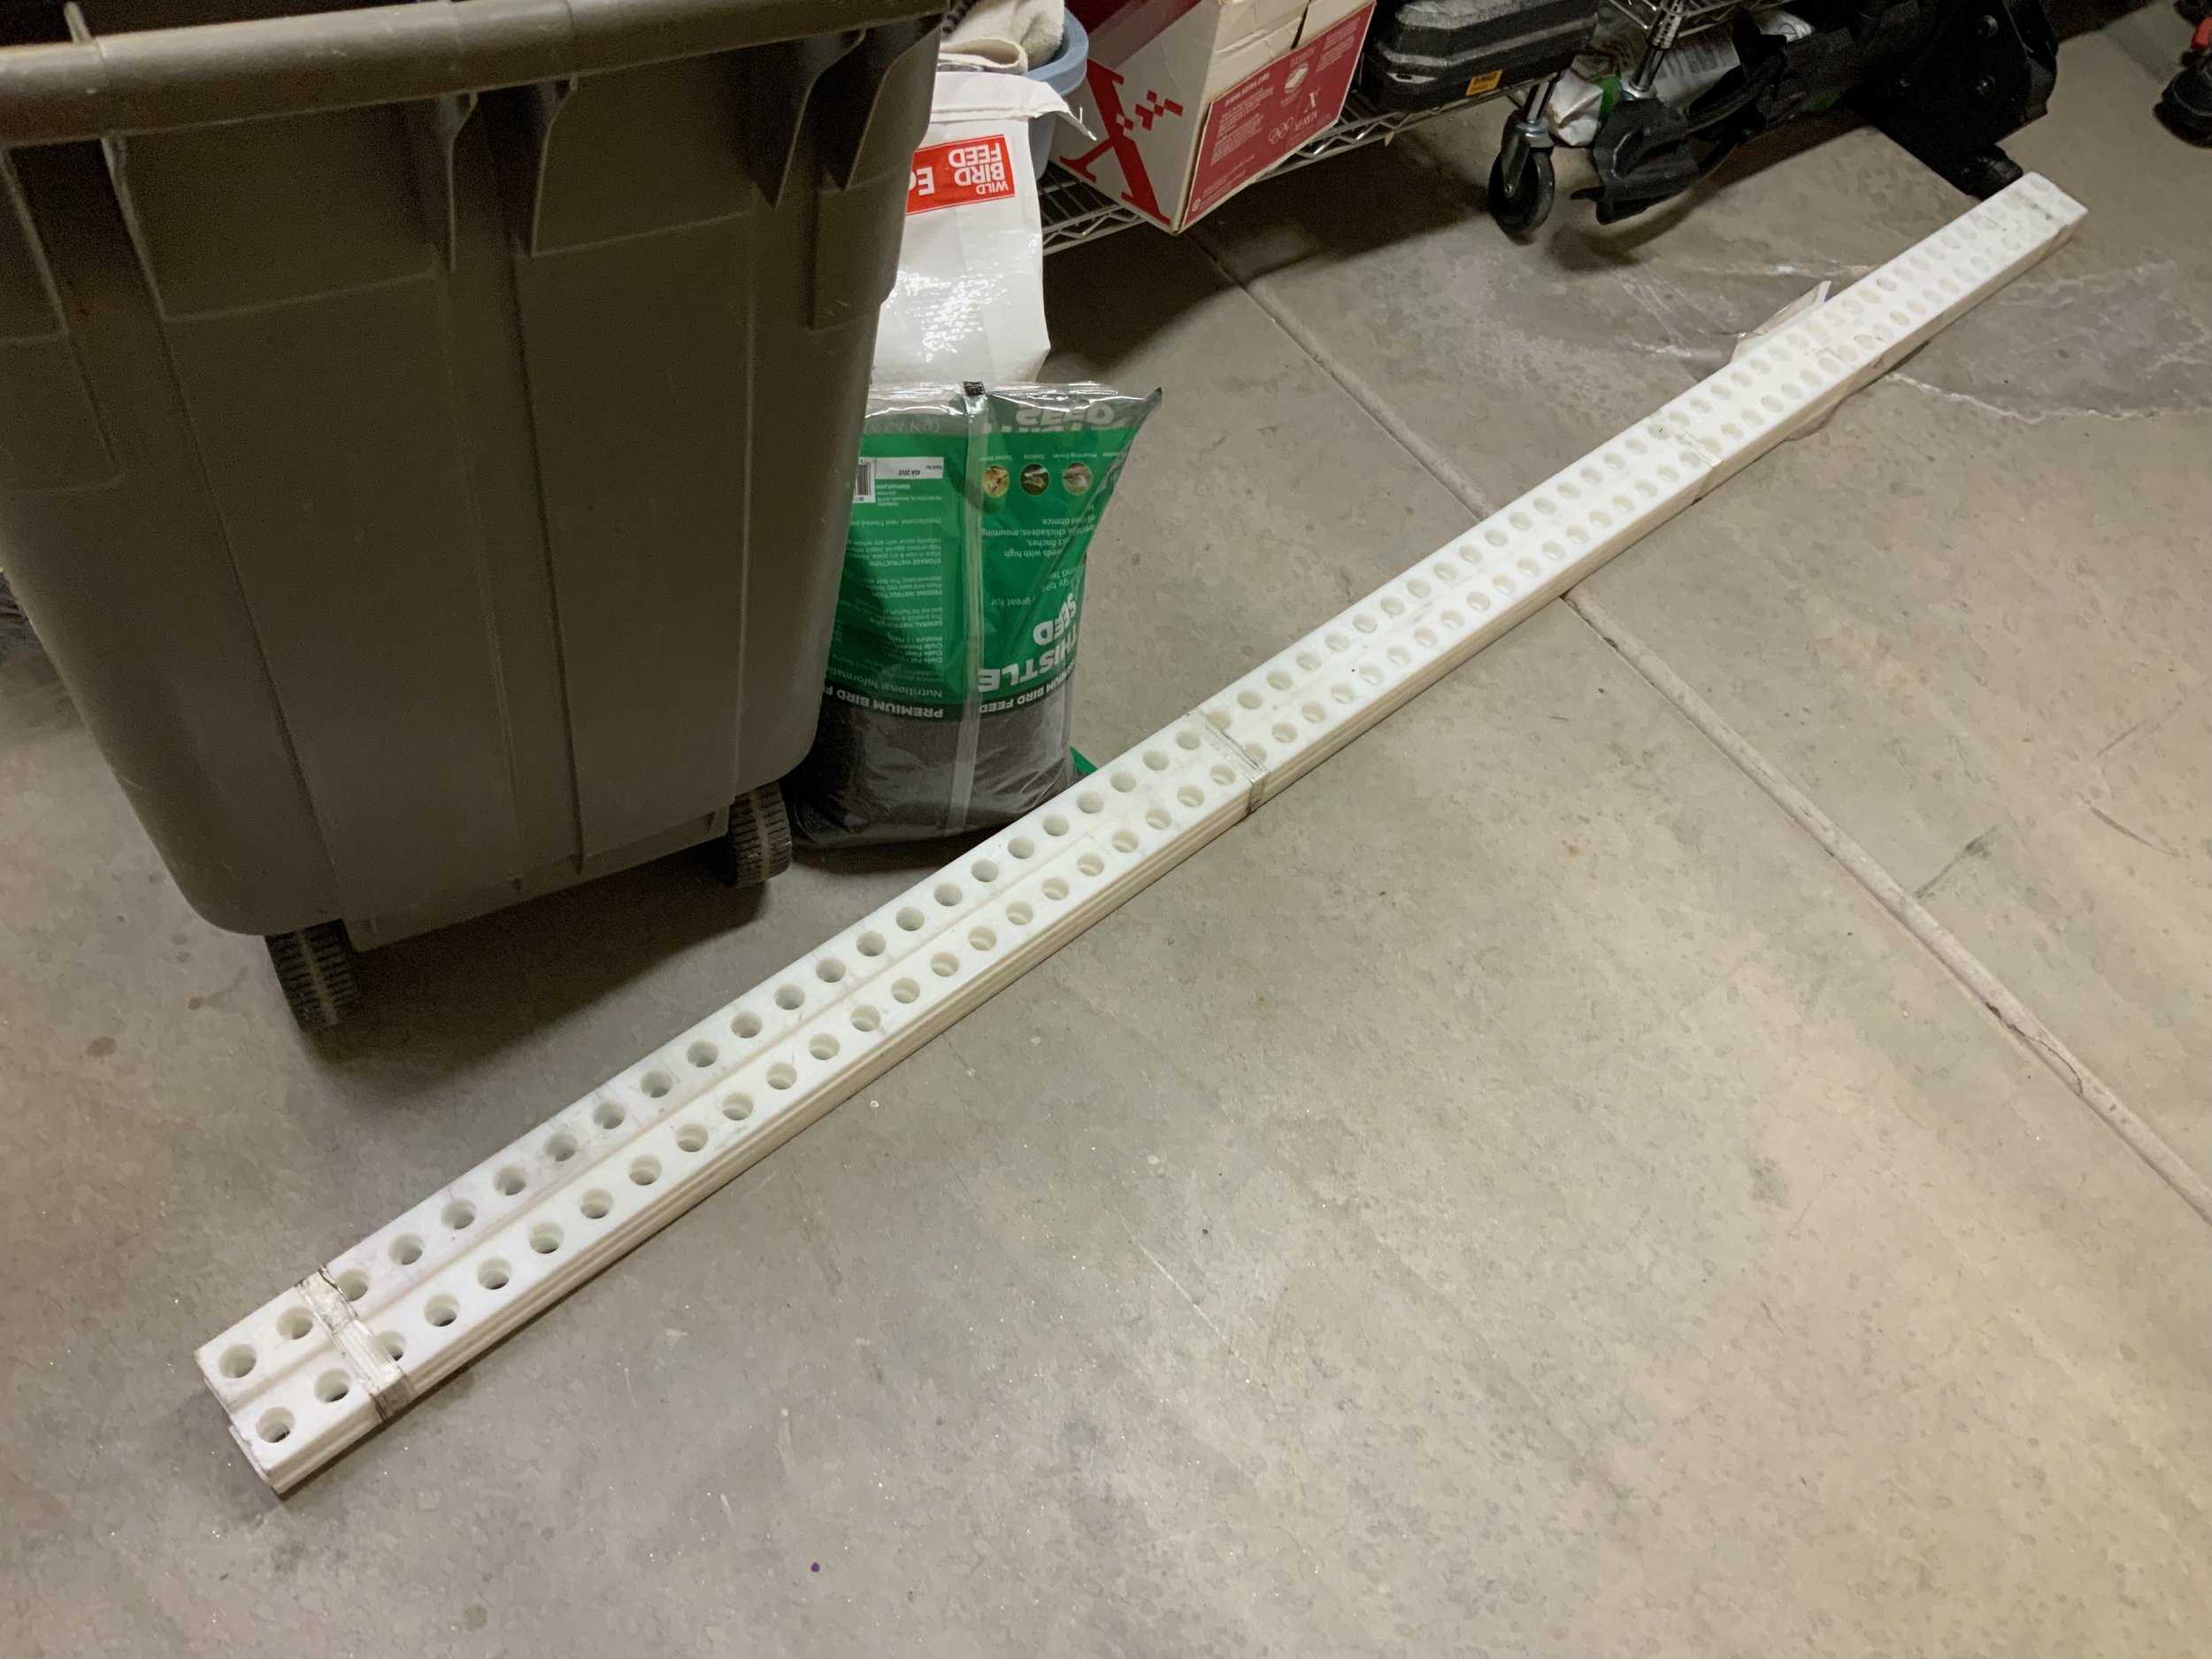
Gear track from Exploradome to fix dome rotation.
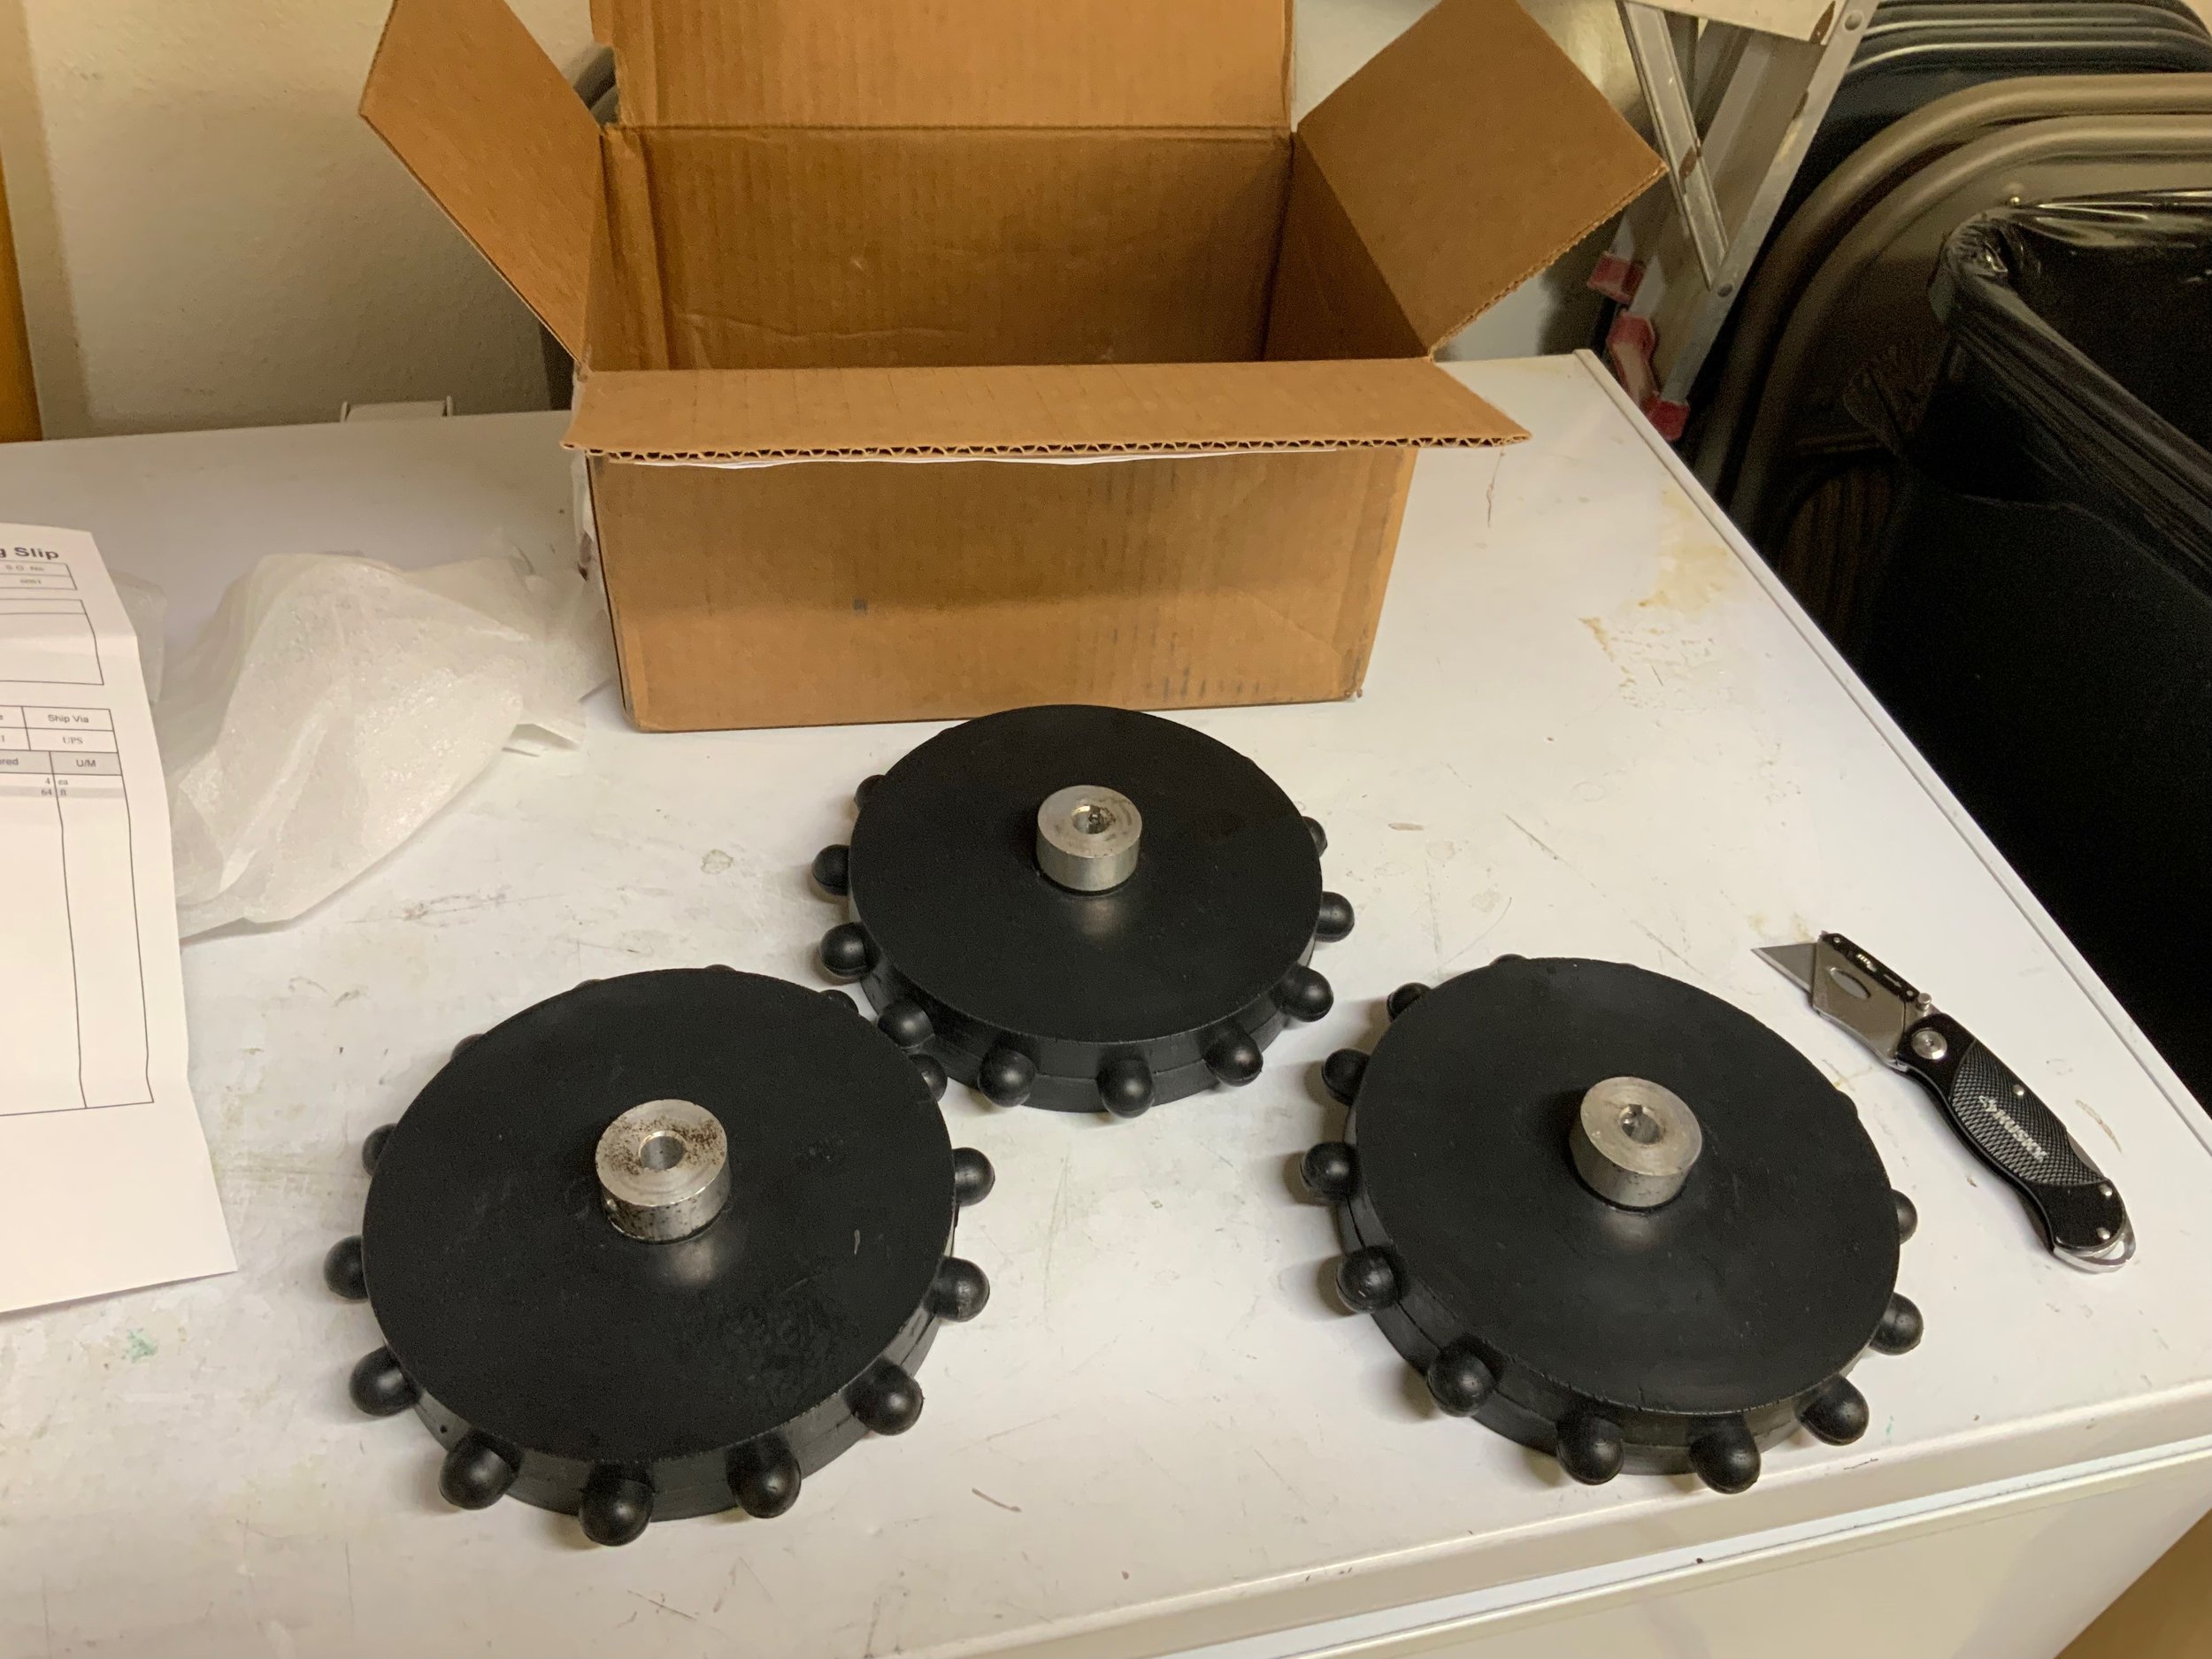
Drive gears from Exploradome to fix dome rotation.