Pier construction
The telescope pier is literally the foundation of any observatory. I had the good fortune of having a son who is both a mechanical engineer and, at the time of the construction of my observatory, had his own metal fabrication business. This allowed for the design and construction of a very robust telescope pier. Initially the observatory was designed with the intent of having a roll-off roof. With this in mind the size (height) of the pier and the overall load on the pier were significantly less than what turned out to be the final design. For various reasons, the design changed to accommodate a rotation dome and a much larger telescope configuration. A dome, while more complicated than a roll-off roof, offers significantly better environmental protection, especially against wind. Given we have significant winds in Overgaard at times this was a positive trade-off. Also, with a roll-off roof there is always the possibility that closing a roof could cause a collision between the telescope and the roof. This is basically impossible with a dome. For these two reasons we chose to change the scope and design of the observatory from a roll-off roof to a dome. Adhering to the mantra “Go big or go home” we specified the pier to be able to support a total weight of 500lbs that would be supported 10’ in the air. This is a bit of a challenge. The height is essentially dictated by the height of the building and the necessary mount point of the telescope equipment. A 500lb limit allows for up to a 20” aperture telescope with the necessary mount, counter weights, cameras and equipment. My son Matt designed a excellent pier. The design of this pier is not by accident. You will note from the pictures that there are intermediate plates that have been welded between the tapering 2x4 steel beams that support the structure. You will also note that the pier is actually bolted to the ground at two places. It is bolted to the concrete base at the very bottom and it is also bolted to the top of the 2’ concrete pier. While it may not be seen, there are gussets that are welded on all of the interstitial plates to the upright beams. Because the pier is bolted down on two plates, it puts a “load” on the beams that rise vertically. The preloading of the beams, along with the non-symmetric placement of the interstitial plates, dampens any vibrational waves that are generated up/down the pier. This makes for an extremely stable platform. The pier itself weighs in at about 1000lbs. This required we hire a crane to come install the pier once we got it to Overgaard. It turned out to not be an overly onerous expense but certainly a necessary one as we never could have gotten the pier inside without one. A few last notes. Matt designed a custom top plate that would accommodate the mounting points of the standard Meade LX200 wedge as well as a Astro Physics AP1600 equatorial mount. He had the plate water jet cut so the hole placement was perfect. We finished the holes in the shop threading and tapering the necessary ones to fit and then he powered coated the entire thing. I initially started with the LX200 wedge but had the opportunity to get a Astro Physics AP1600 mount. That bad-boy is the Cadillac of telescope mounts and performs flawlessly.
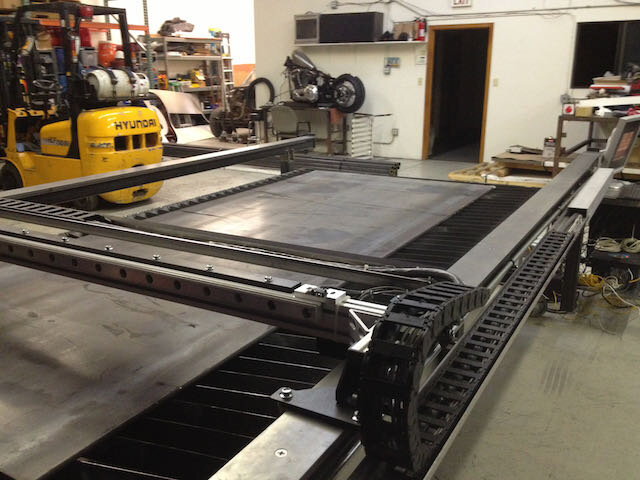
4' x 8' x 1/2" Sheet steel plate on a CNC Plasma cutter bed
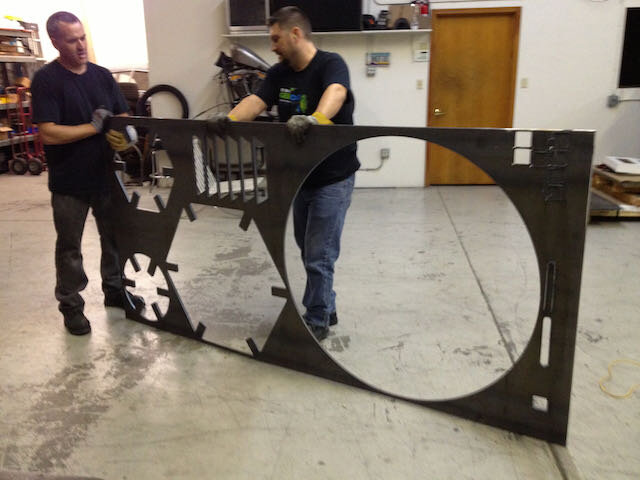
The "drop" after cutting the required pieces for the pier. My son Matt on the right and his associate Chris on the left.
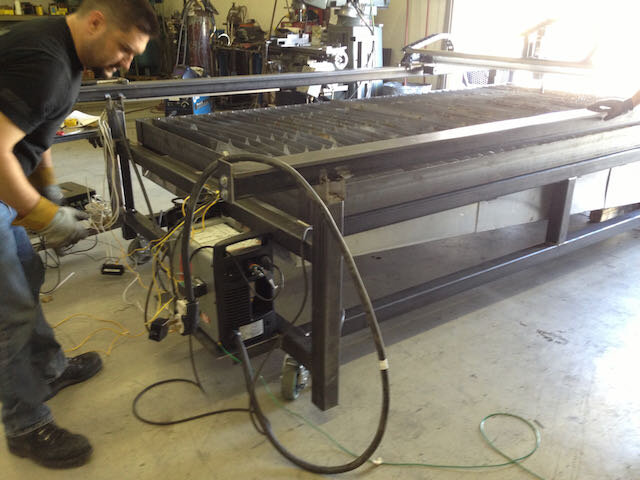
Another view of the plasma cutter. My son Matt making adjustments before the cut.
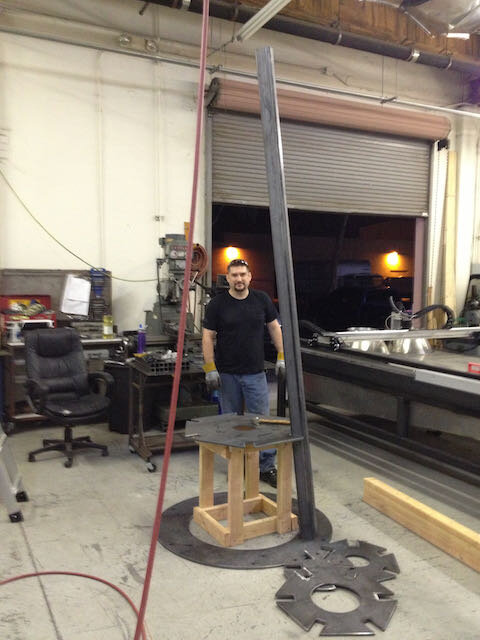
Matt setting up the welding jig for the project
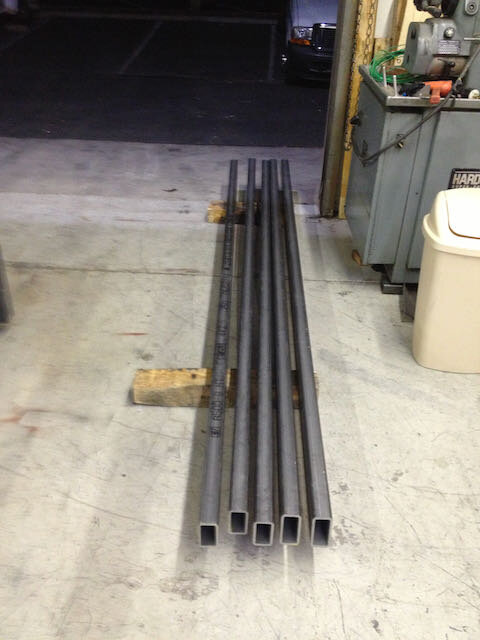
Five 2"x4" x 10' steel bars for the pier uprights
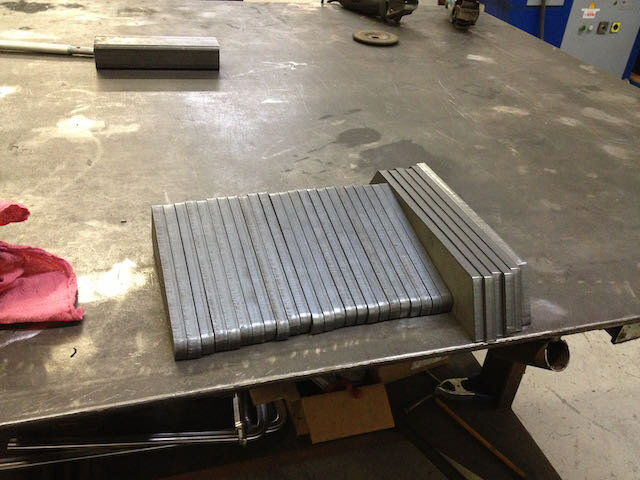
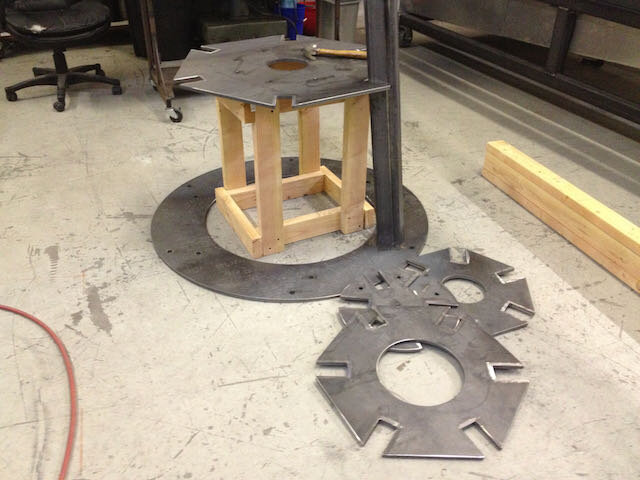
All of the plates, pre assembly
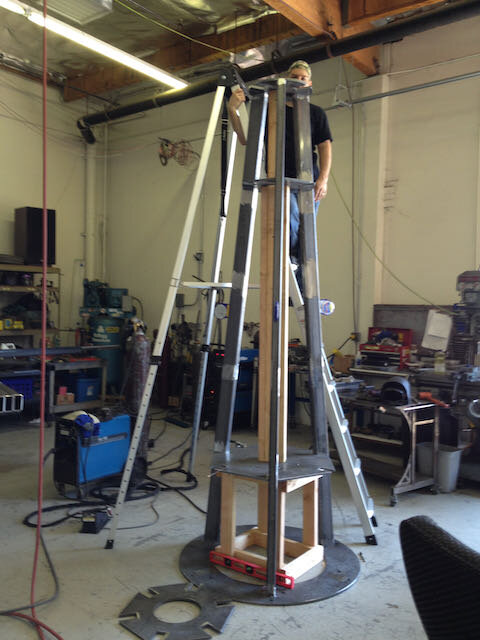
Matt setting up the jig and getting ready to weld.
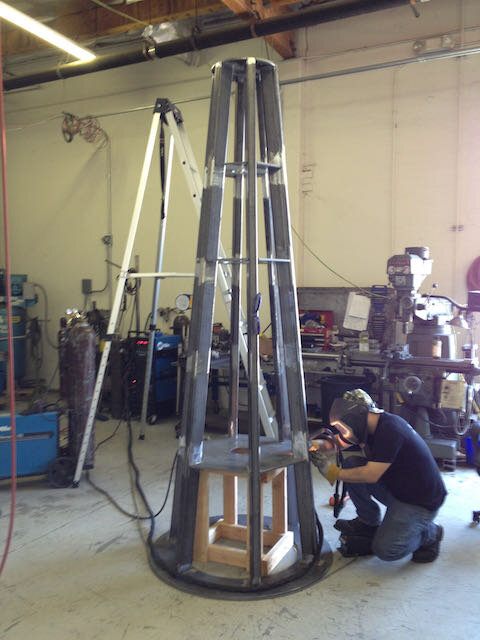
The master at his best.
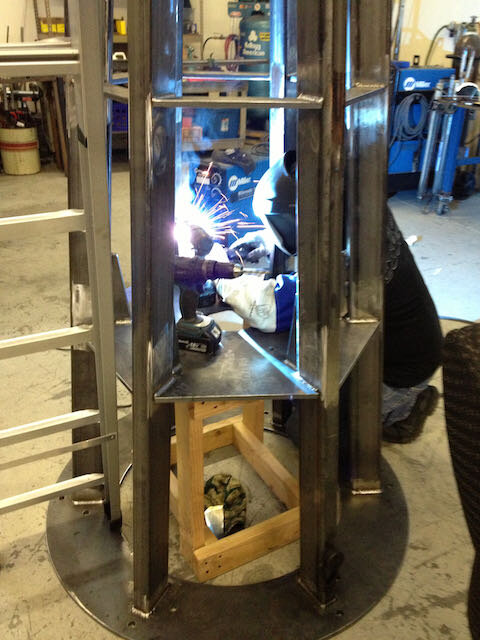
More MIG welding.
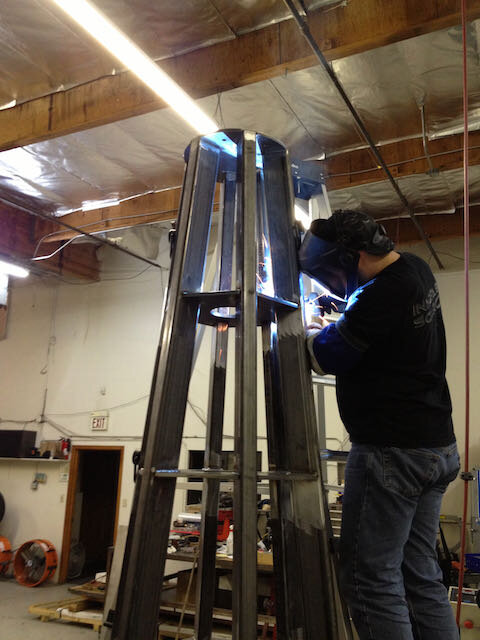
A few final touches.
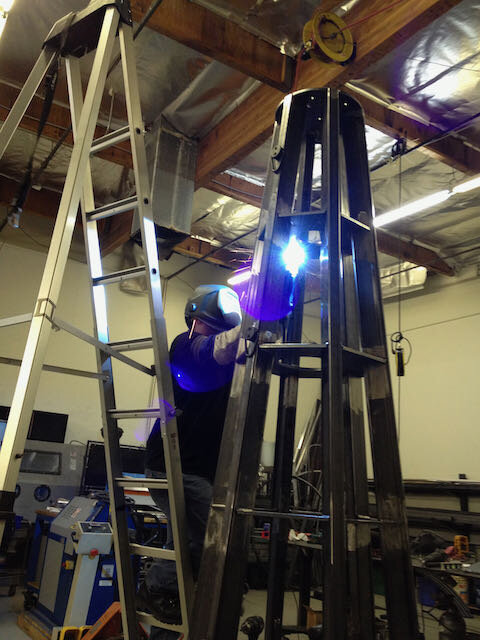
..... and a few more.
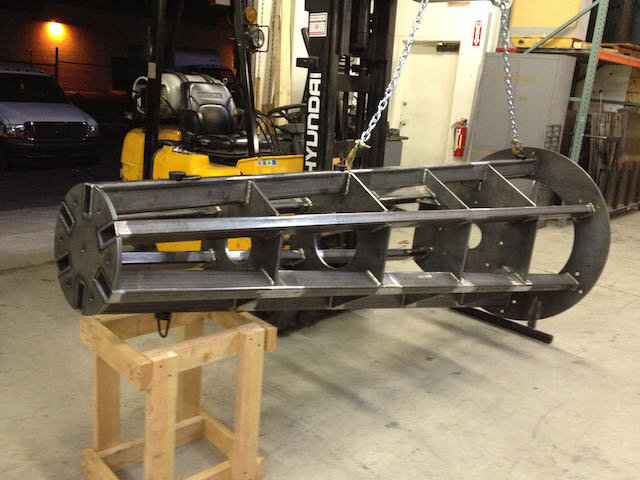
Final welded pier.
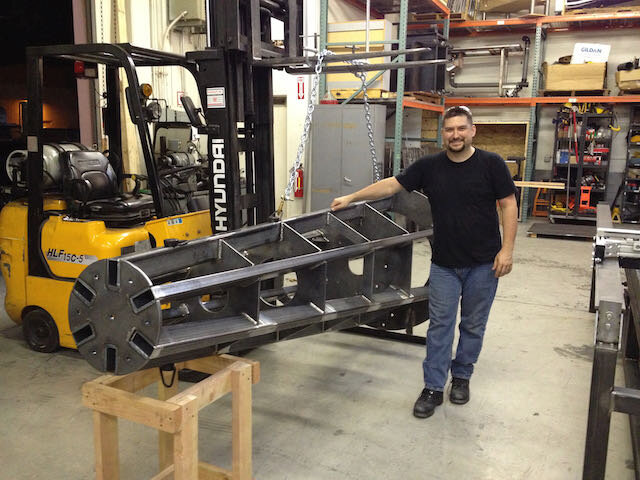
My son Matt with his creation ready to ship to powder coat.
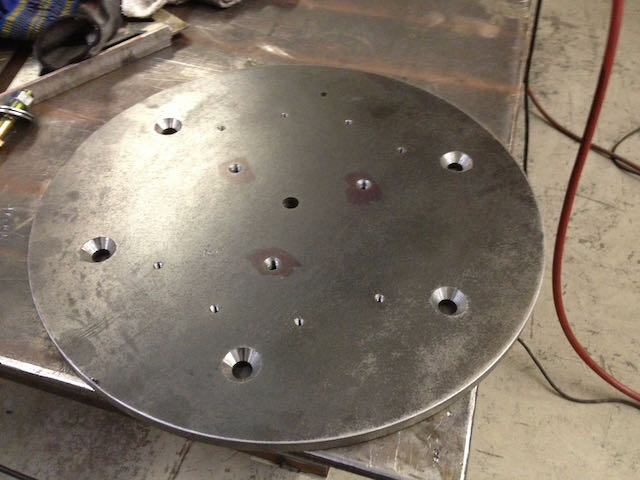
Custom Water-Jet cut top plate.
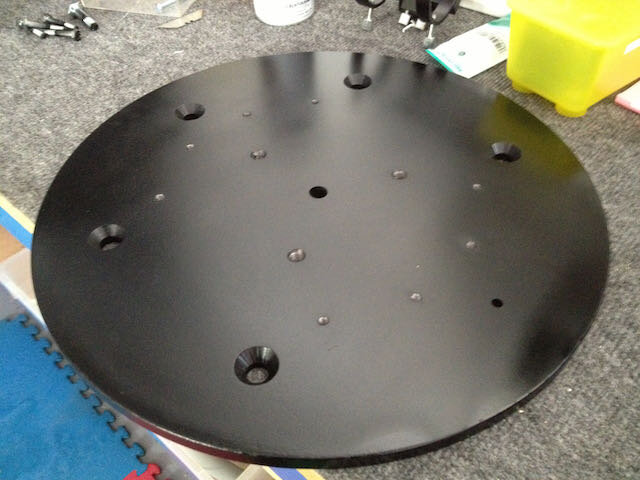
Top plate back from powder-coat
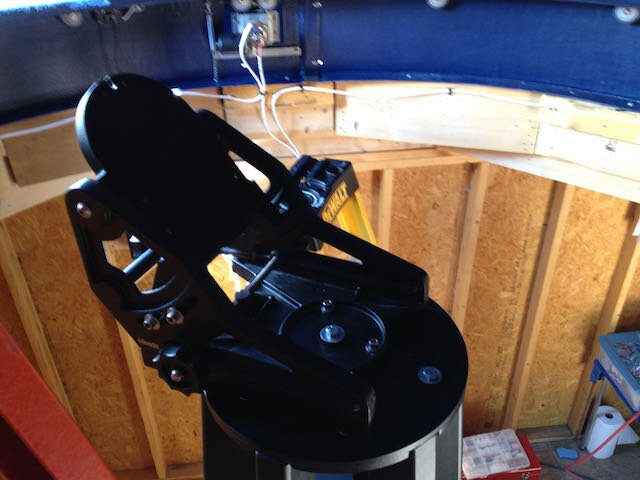
Top of the pier with an LX200 mount wedge.